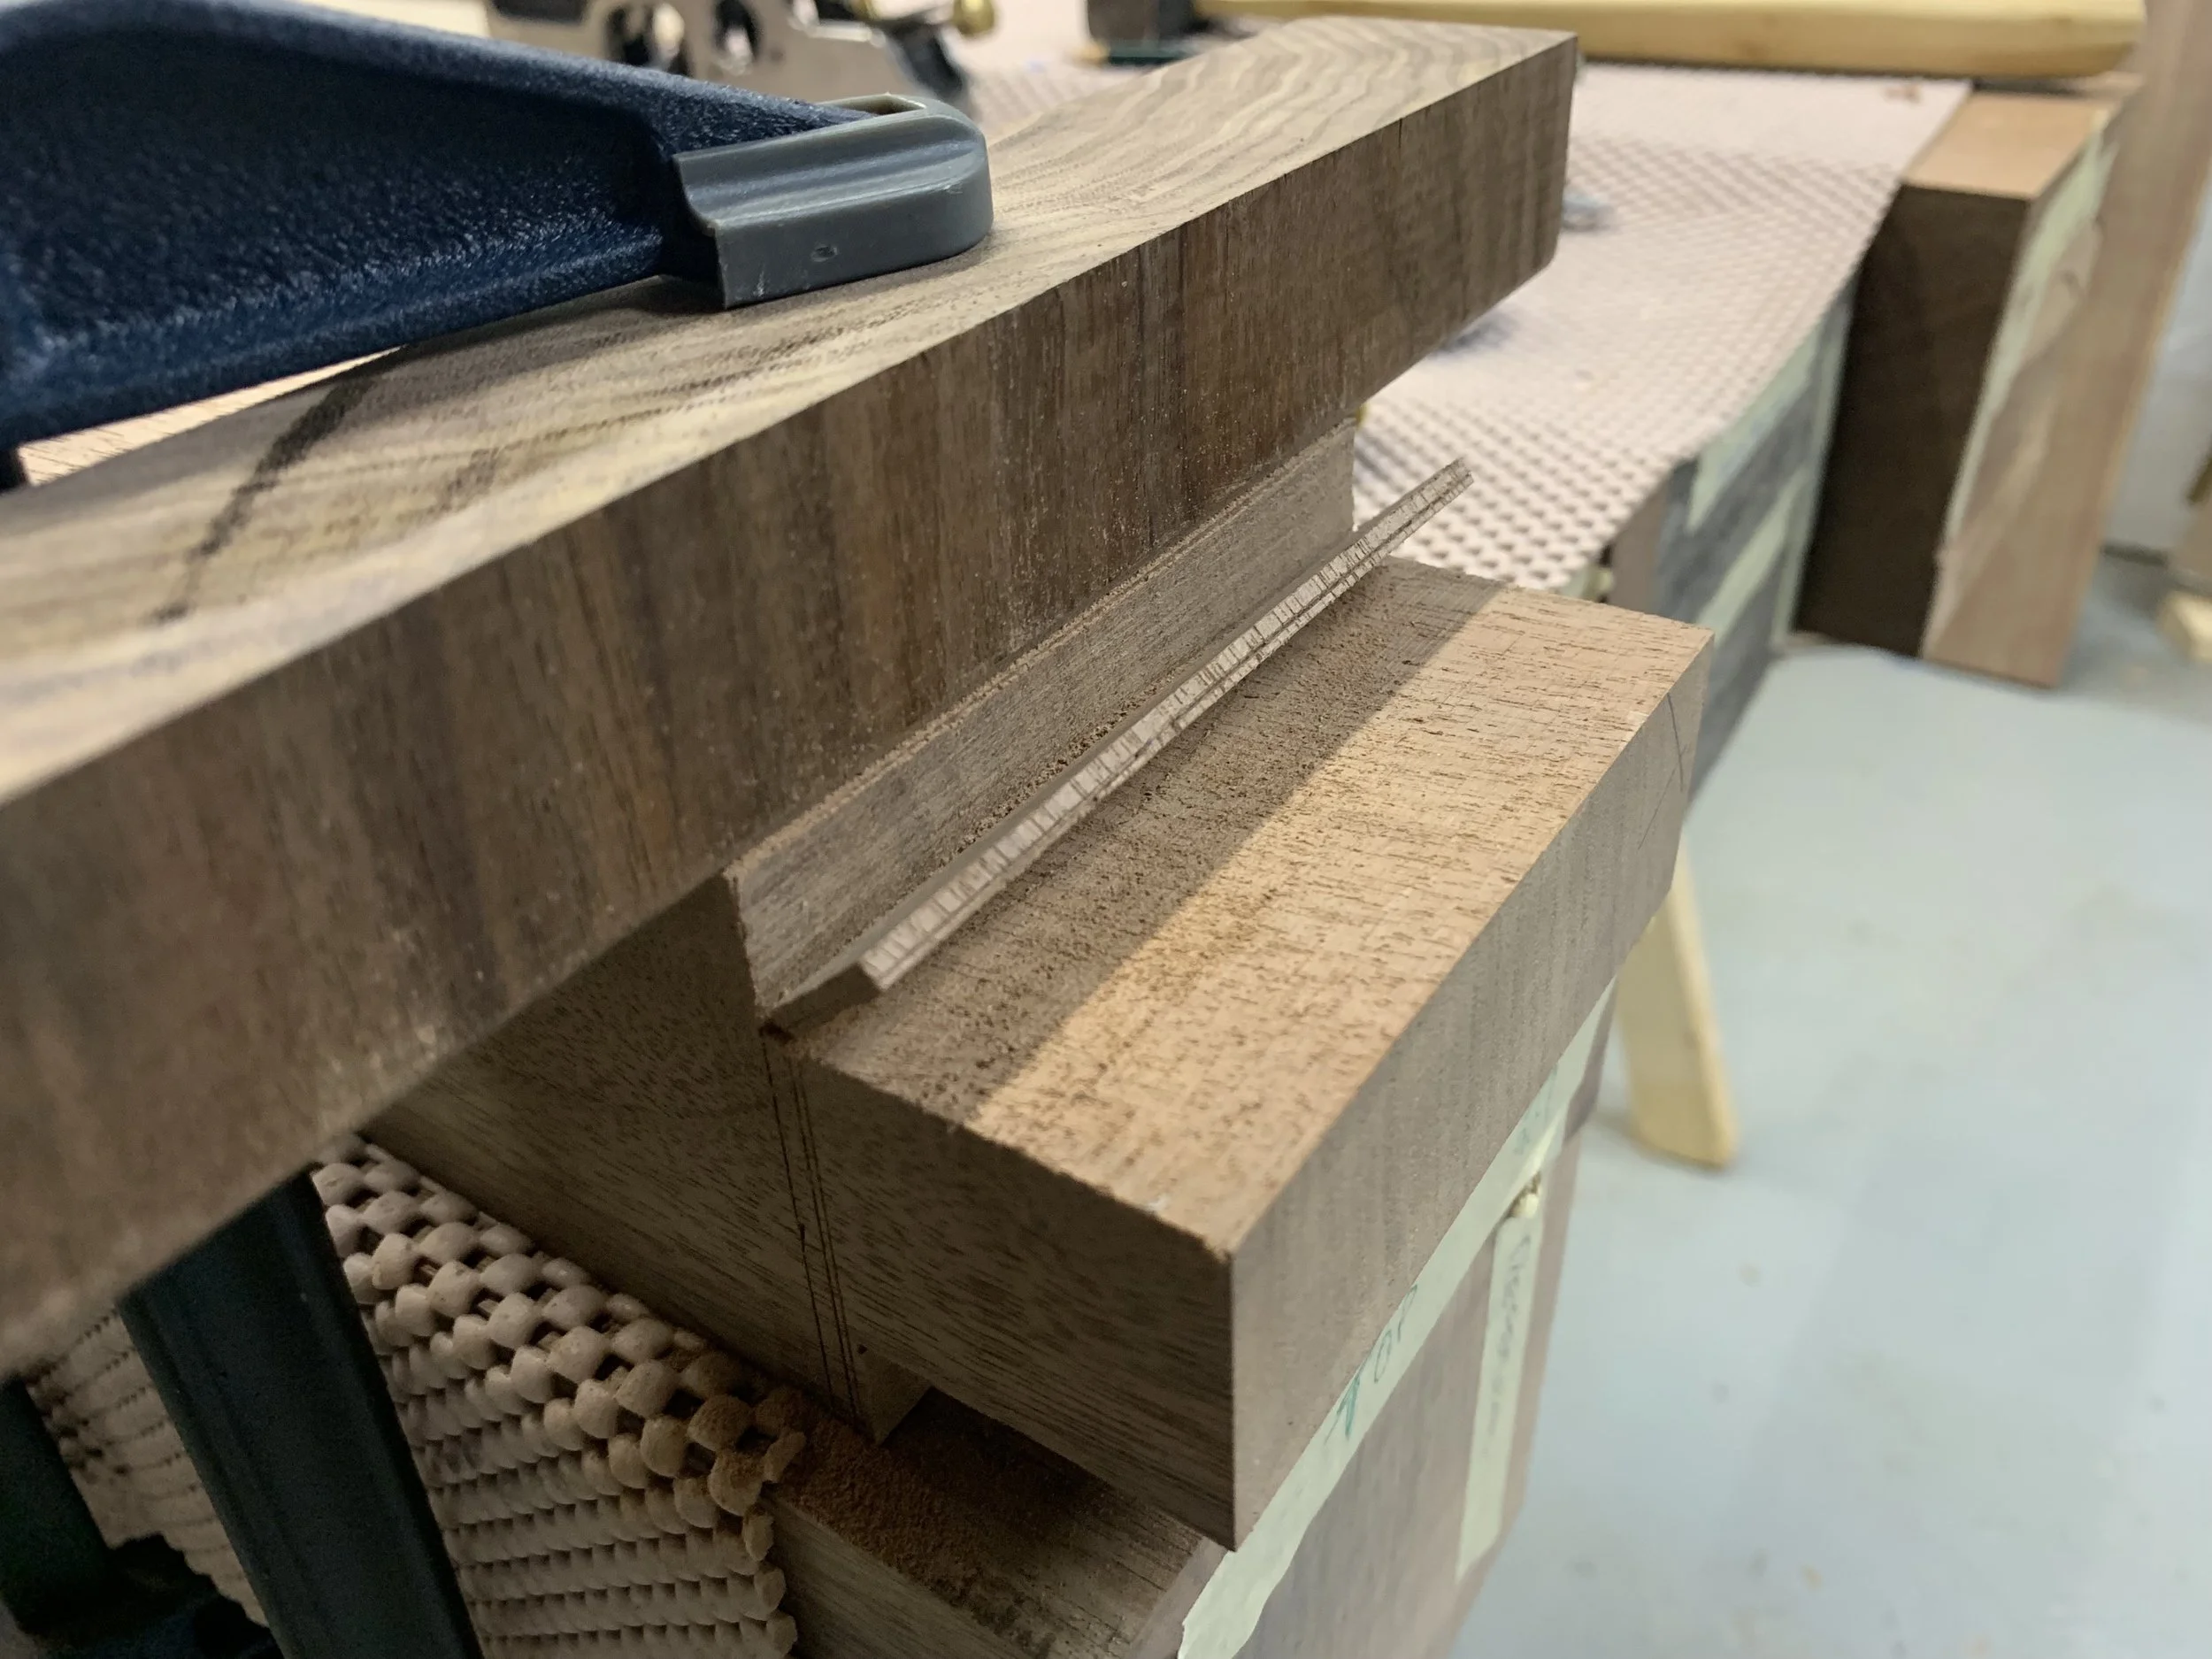
I’ve neglected updating for some time but the pace has picked up and I’ve made substantial progress. I’ve also made a few big decisions… I was going back and forth between on whether to go with a split or solid slab for the top, each has pros and cons but ultimately an asymmetrical split top design won out. A few considerations came into play, number one being mobility. Having just moved to a small town with my family, I have very few people to help out in a pinch, especially with a giant slab of walnut. There’s also an air of self sufficiency around these parts, which I guess will be reflected in this work. I’ll go it alone and manhandle it across the finish line myself. The second has to do with design itself, I figure there’s no real need for a sliding deadman if I can simply put a clamp in the split and secure the end of the board against the front of the bench top. Not having a sliding deadman will cut down on the complexity (and time) of this build substantially. Especially since my front stretcher is inset an inch and is not flush with the front legs. My original idea was to use a cam clap and a sliding block design for the deadman, the block would take up the 1” gap and would be a pretty elegant solution to this problem… but hey a clamp and the split is cleaner and simpler. Often the simplest solutions are best and the more elegant a solution the more beautiful. Maybe the deadman would just be clutter? I still like the idea of the cam clamp and I think I’ll use it with the gap stop and tail vise for a sliding batten system. Anyways, on to the pictures.
Beams to Dreams
It’s time to get started. No more planning, no more thinking and hopefully no more tooling up. First order of business is to start cutting my beams down to size. Though it’s not as straightforward as it might appear. I’ve learned a few things about buying wood, some which I already knew but didn’t quite register with me. I guess i’m an experiential learner… 1st off, country folk are savvy and you should drive a hard bargain. I still can’t decide whether I got a good deal… On one hand, walnut beams are exceedingly rare and should cost a small fortune. On the other hand these beams have checks, pith, debris and the tree ate a small fence and a few lag bolts back in 1982. All in, I probably did very well, especially considering I wouldn’t have been able to buy the same amount of wood in ash or oak from the local hardwood supplier for any cheaper. Actually it would have been close to double. The trade off is that I had to dig metal out of a few beams, I’ll have take care to mill the pith out where ever possible and I’ll probably end up having more dutchmen than than the Netherlands.
An Industrial Revolution
The machine shop side of the workshop is complete. Ducting has been run and the sub-panels in. I won’t go into too many of the details as it was more of a hassle than anything else. Numerous trips to home depot, rona, lowes, to purchase all manner of ducting, fittings, screws, hose clamps tape, in various diameters, gauges and orientations. But it’s in and I have enough parts left over to build a small space station. Nasa, look me up if you’re reading this.
A French Connection
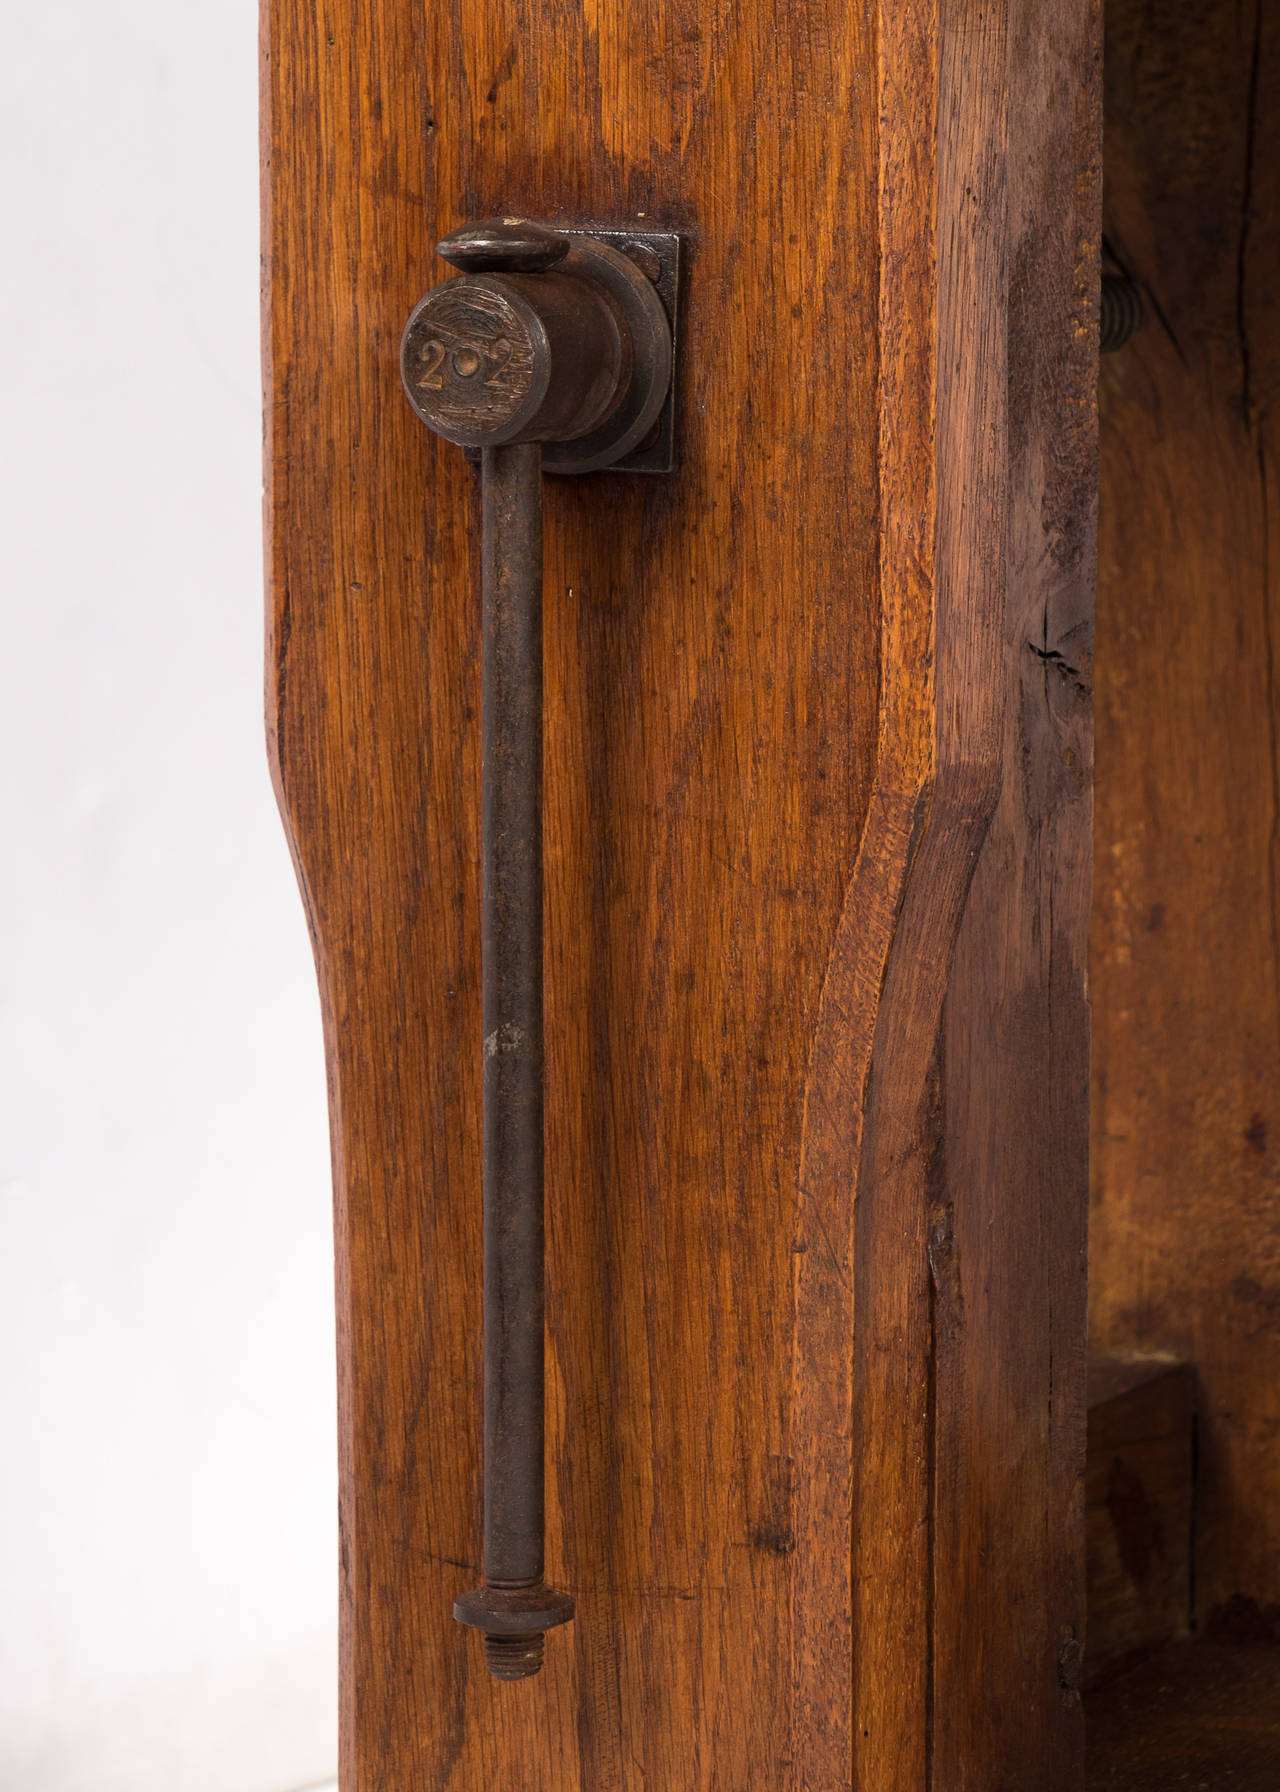
I’ve been deep in the minutiae of workbenches for some time now, it’s been one of more extensive rabbit holes I’ve travelled down. I’ve poured over all the books, have read countless build threads and I think I’ve reached a point where I have a clear idea of what I want for my own. Initially, I was really drawn to Chris Schwarz’s cherry slab roubo, to my eye’s it was just about perfect except it was a little on the small side. It has a purposeful honesty about it, whereas the more popular “benchcrafted” style benches come across as more cold and clinical. My plans changed when I stumbled across 1stdibs.com, which is a veritable treasure trove of workbench design ideas. And it was there where I found it, a french bench with perfect proportions, a design which sang to me across the centuries, and It’s the one I will build. It differs from the modern roubo interpretation in a few ways. Its front stretchers are inset and not flush, It has drawers, lacks the dovetail tenon and has an overall wider stance than most. I’ll need to make a few modifications of my own, I’ll add upper support stretchers , a quick release tail vise, a shelf to the underside and will thicken the top somewhat. It feels good to be able to stop searching, no more endless research, it’s just time to build.
Progress Slowly
If all goes well the shop should be up and running in a couple weeks. An electrician will be by to install a 100amp sub-panel tomorrow, which leaves me with the dust collection ducting to figure out. Haven’t quite decided on whether to use 24g stove pipe single wall duct or to go with sewer piping. The sewer piping is difficult to find around these parts, it seems 6” diameter is only sold wholesale to the plumbing trades…
I’ve landed on machine placement, the layout below seems to have the best feng-shui, however these things tend to change in practice.
Once complete it’ll be time to start prepping stock for the roubo build.