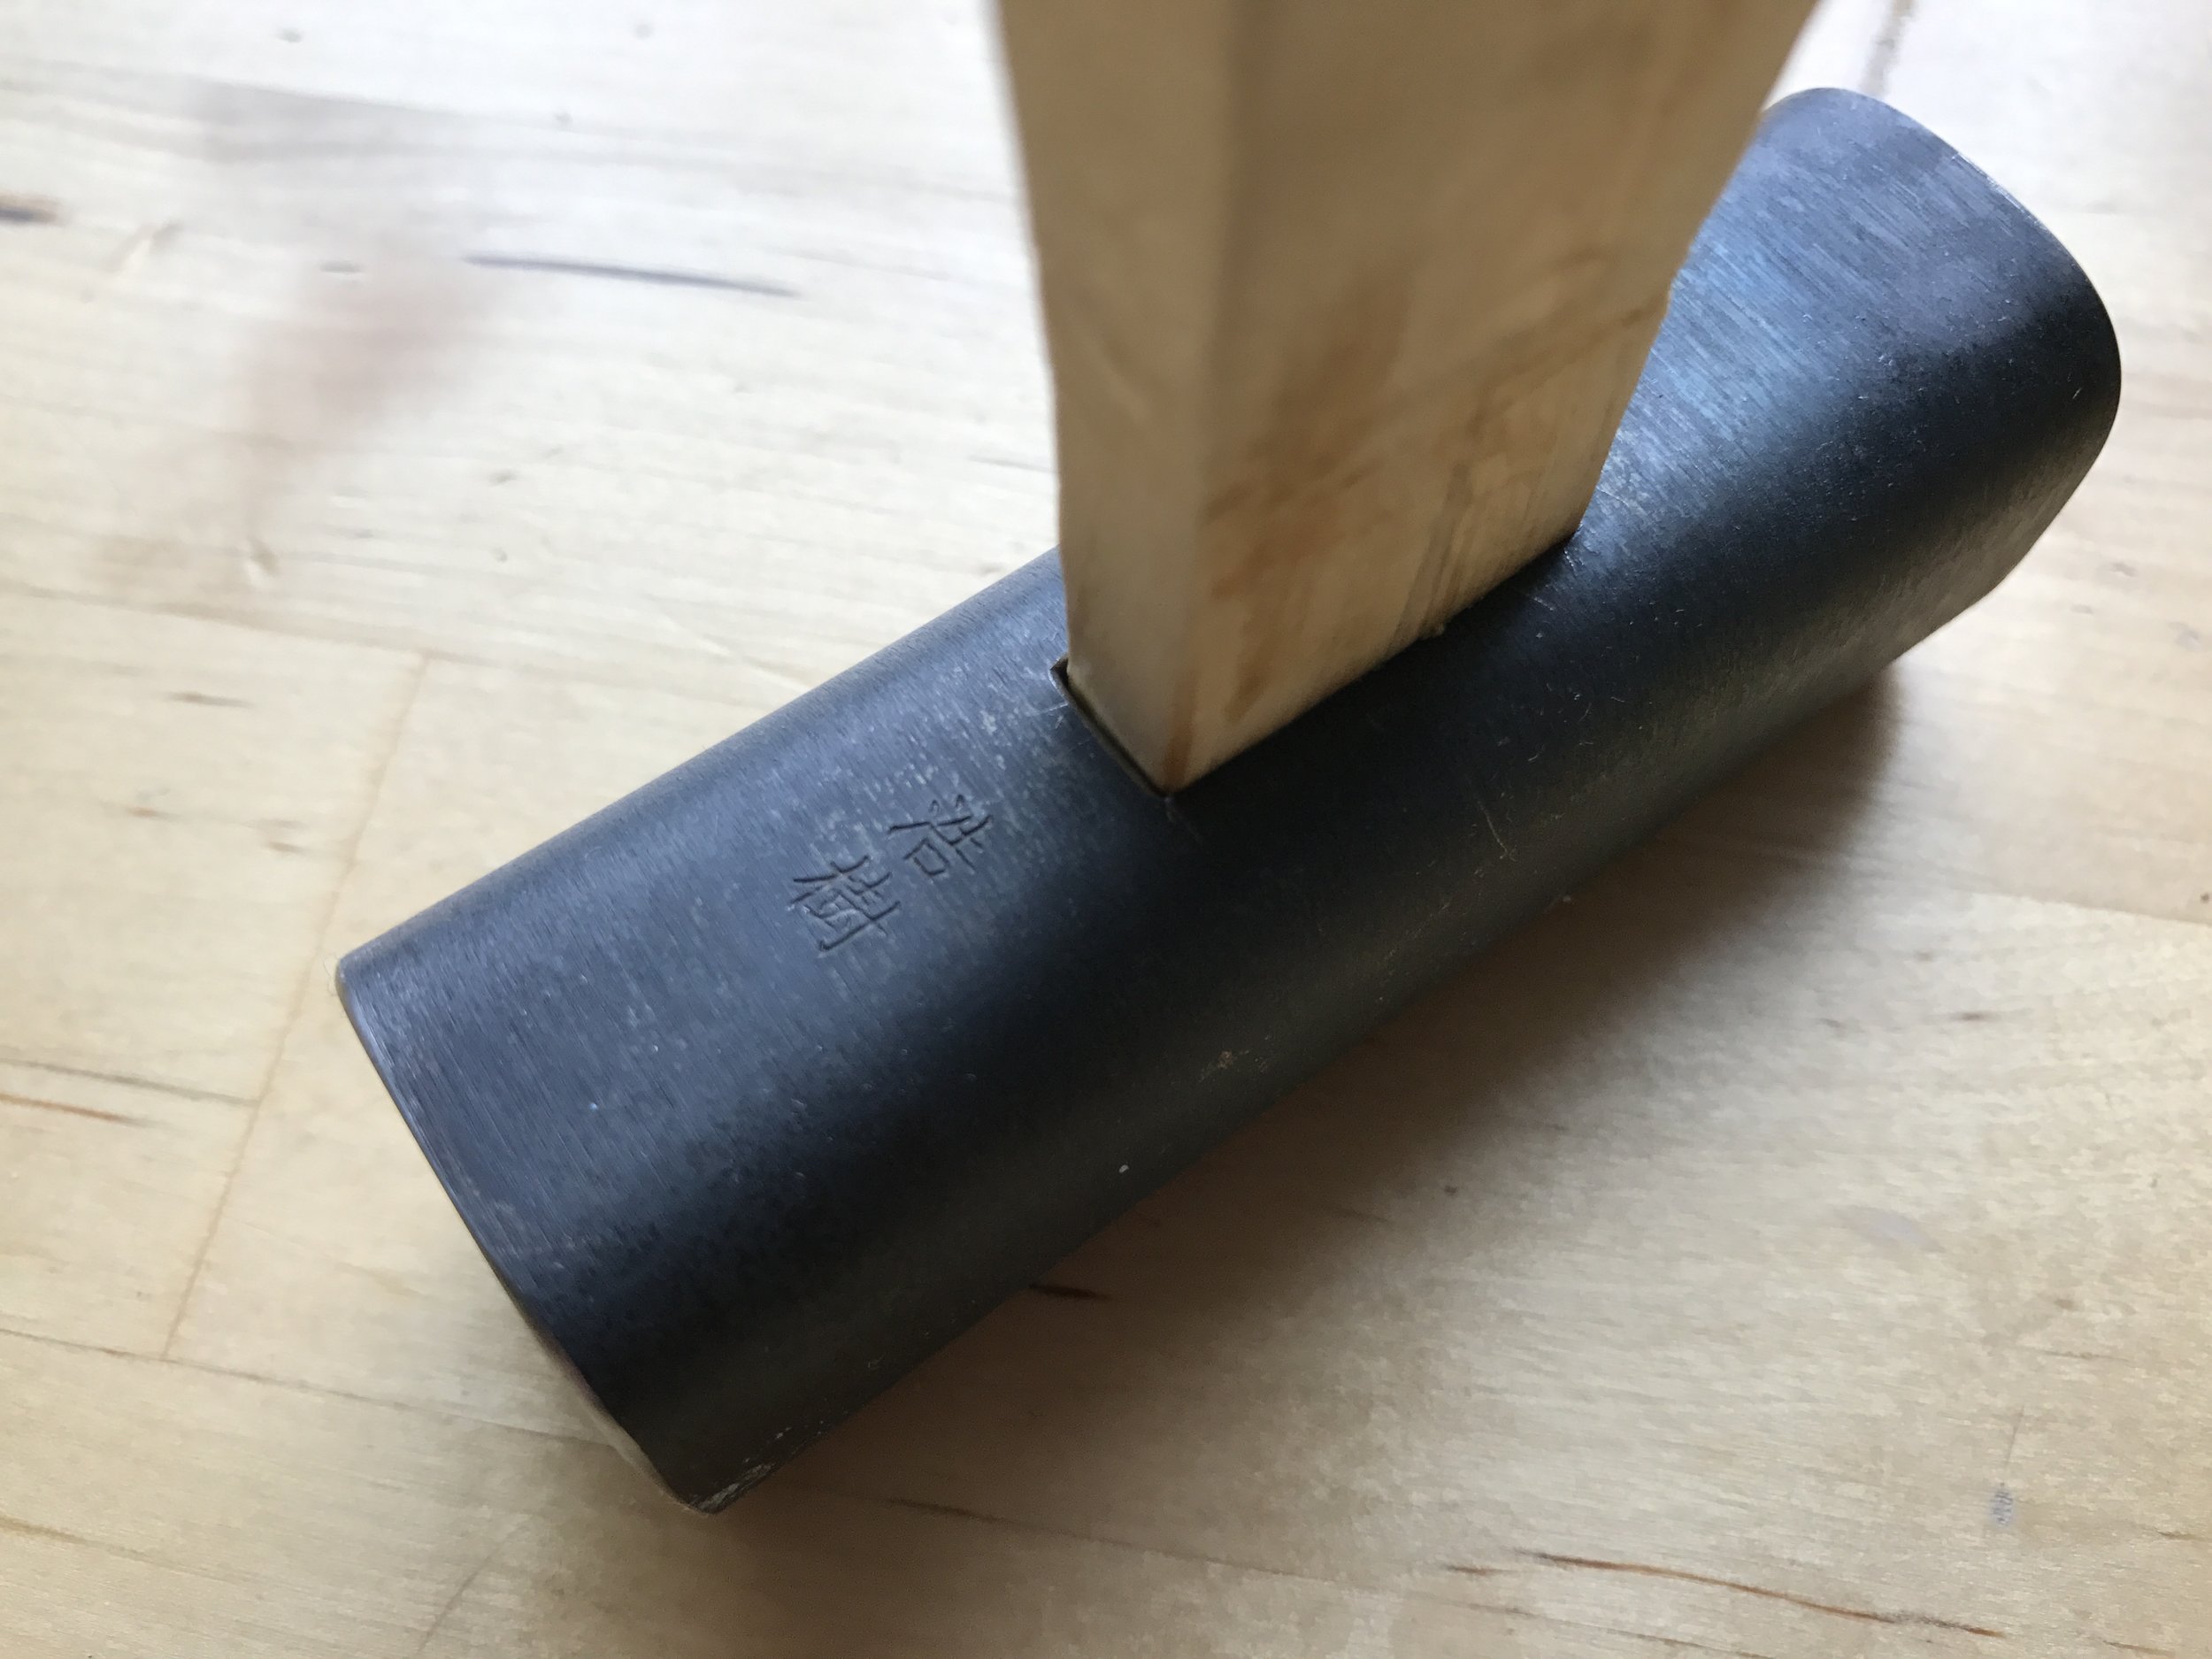
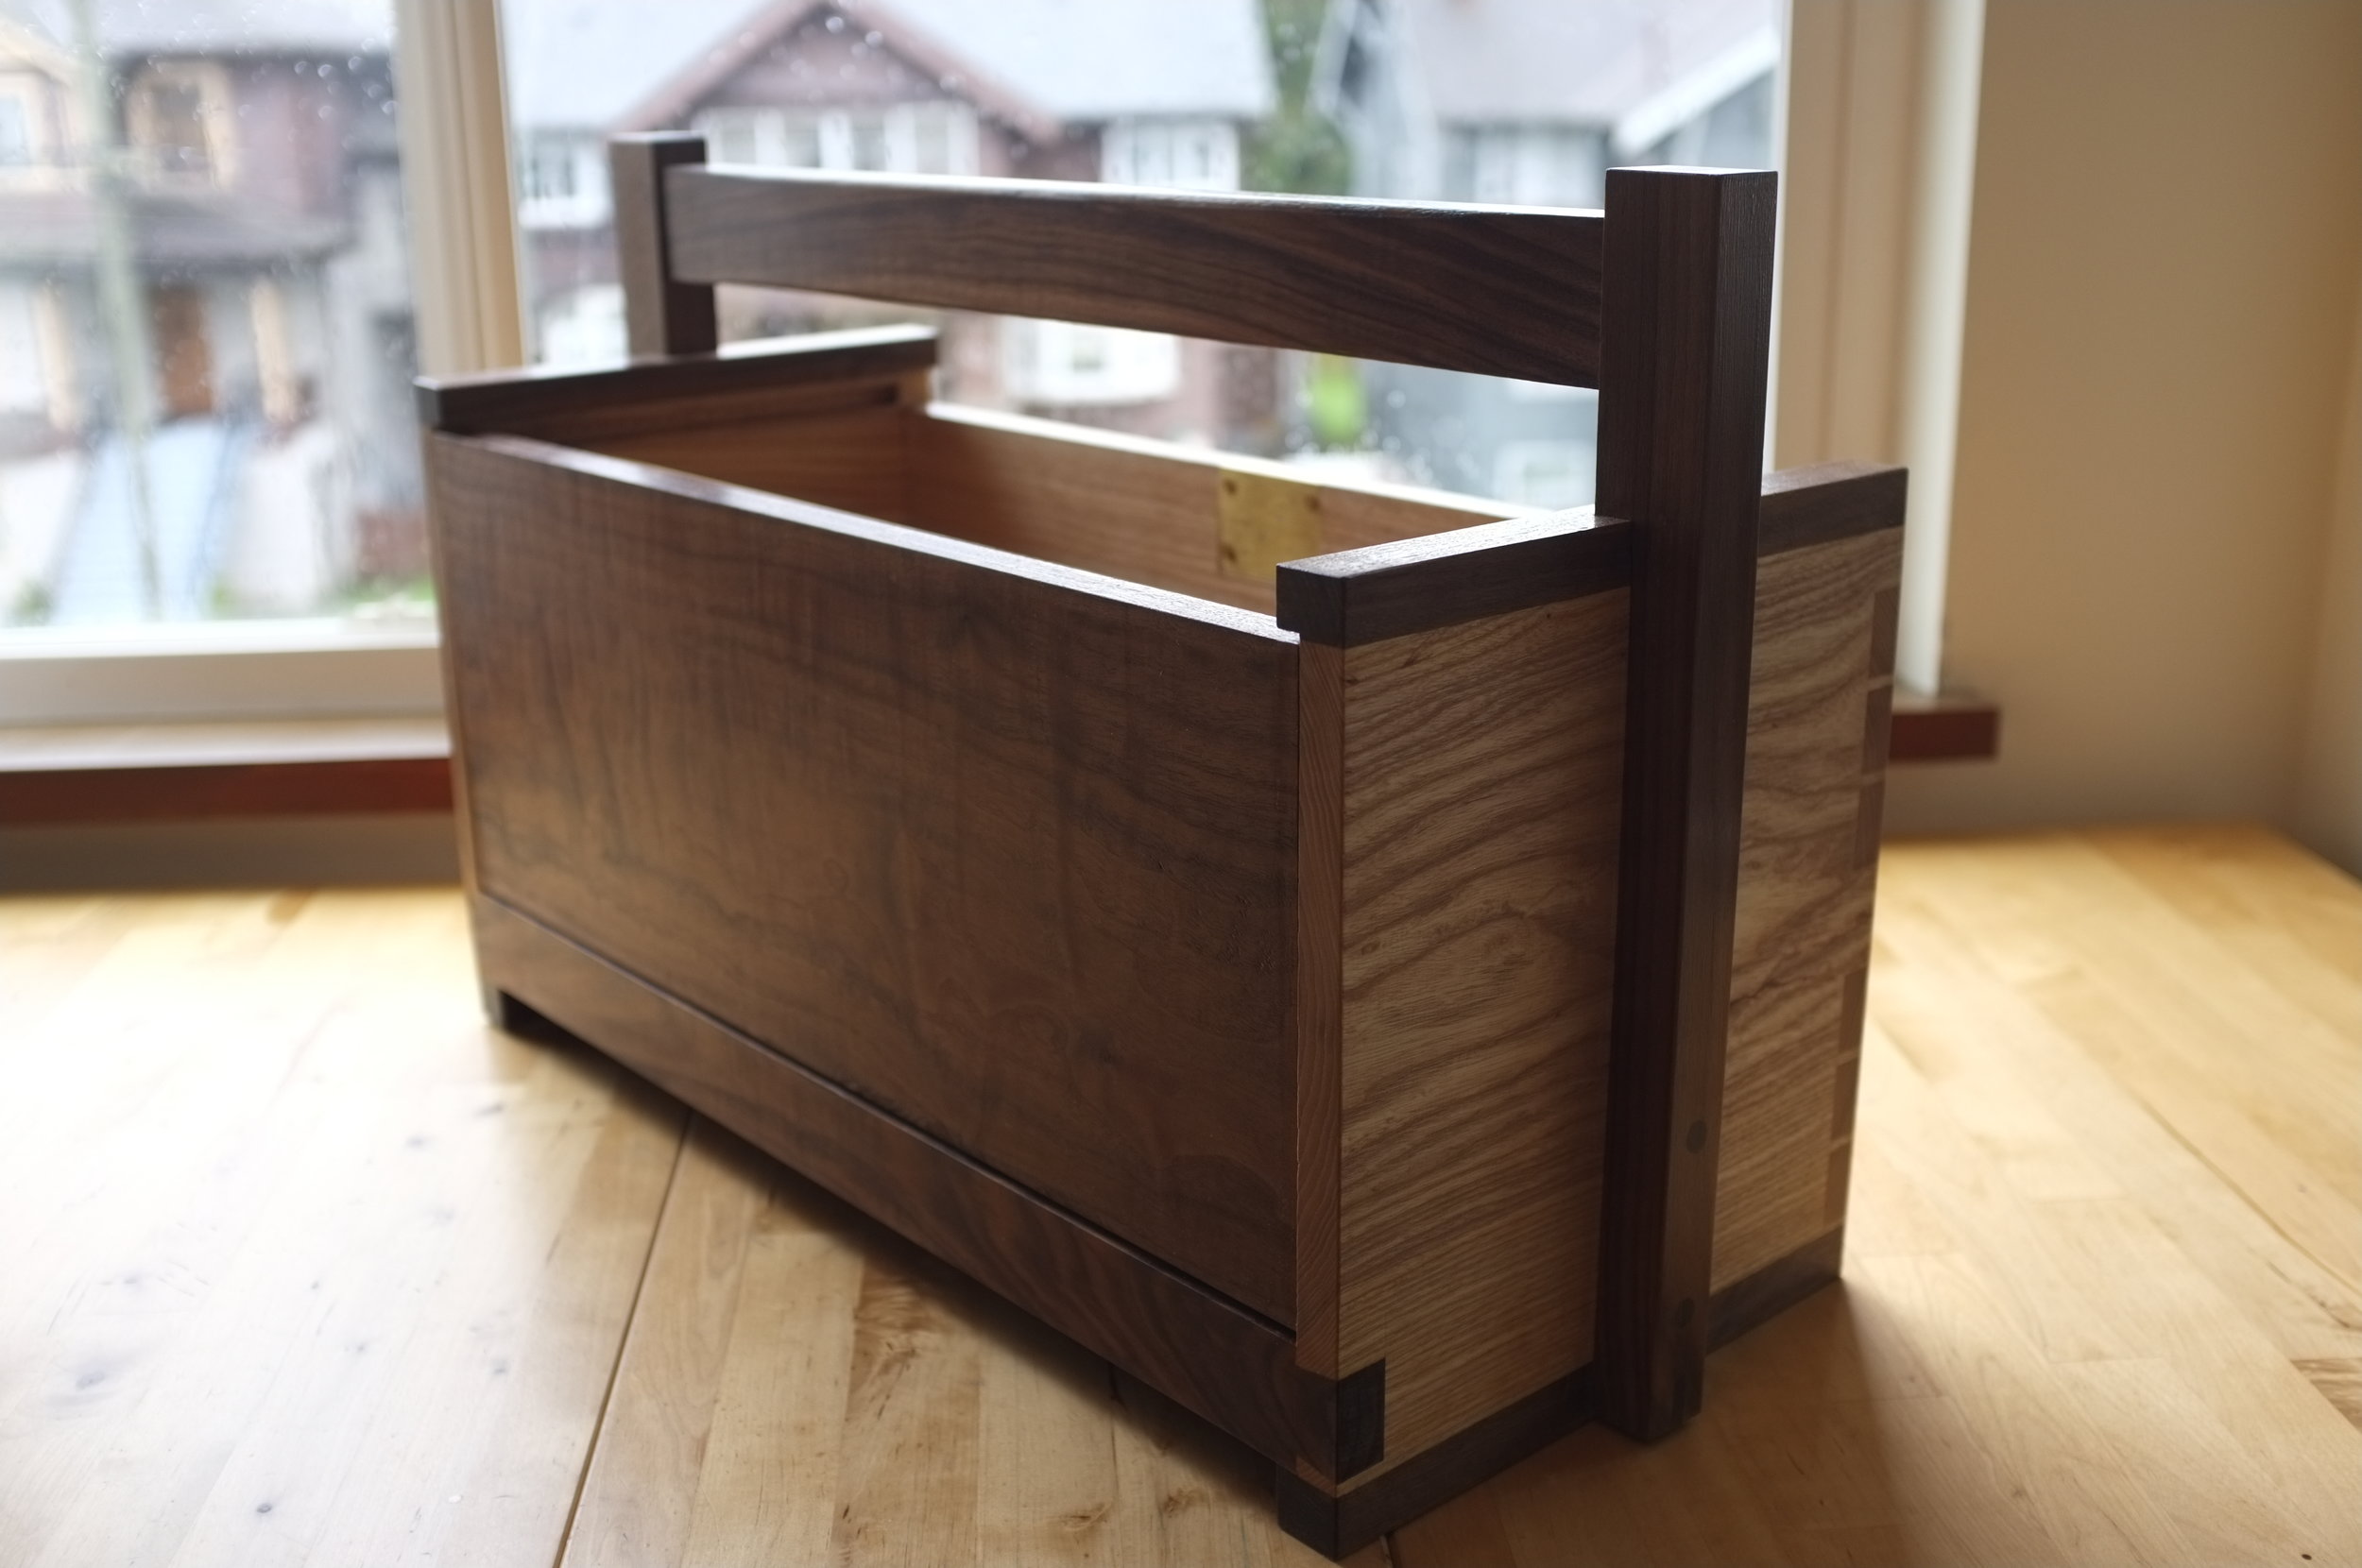
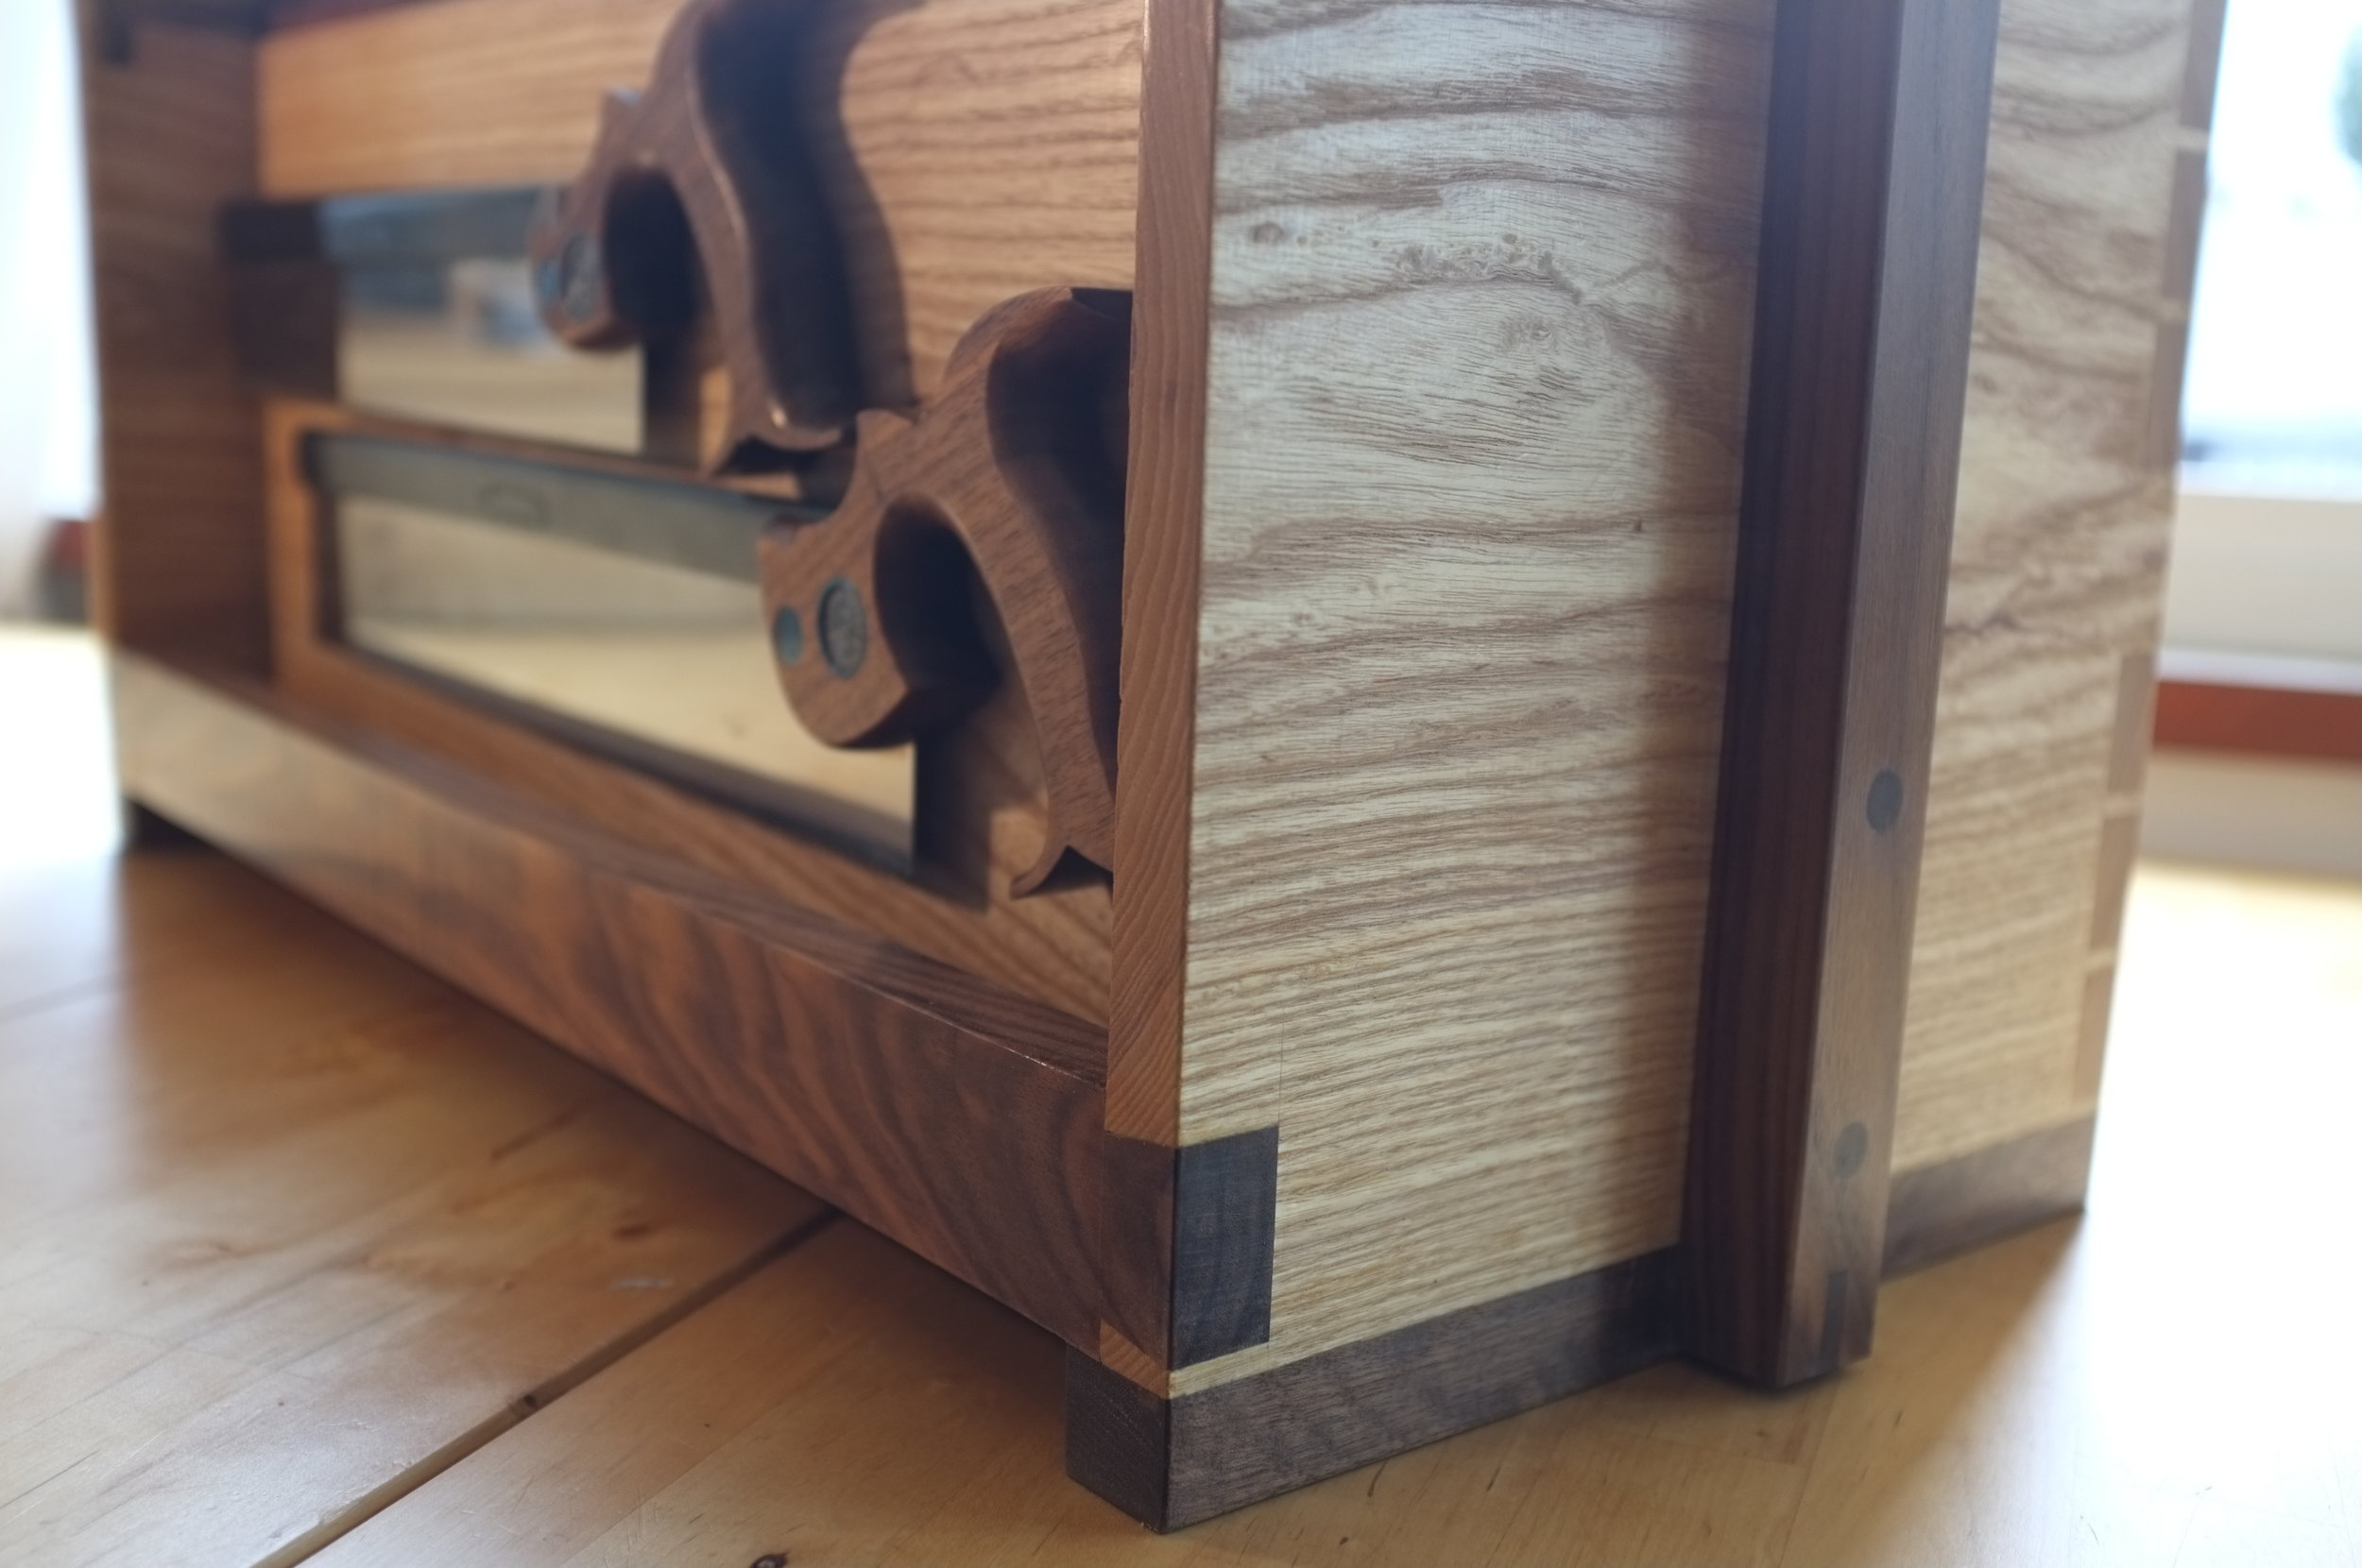
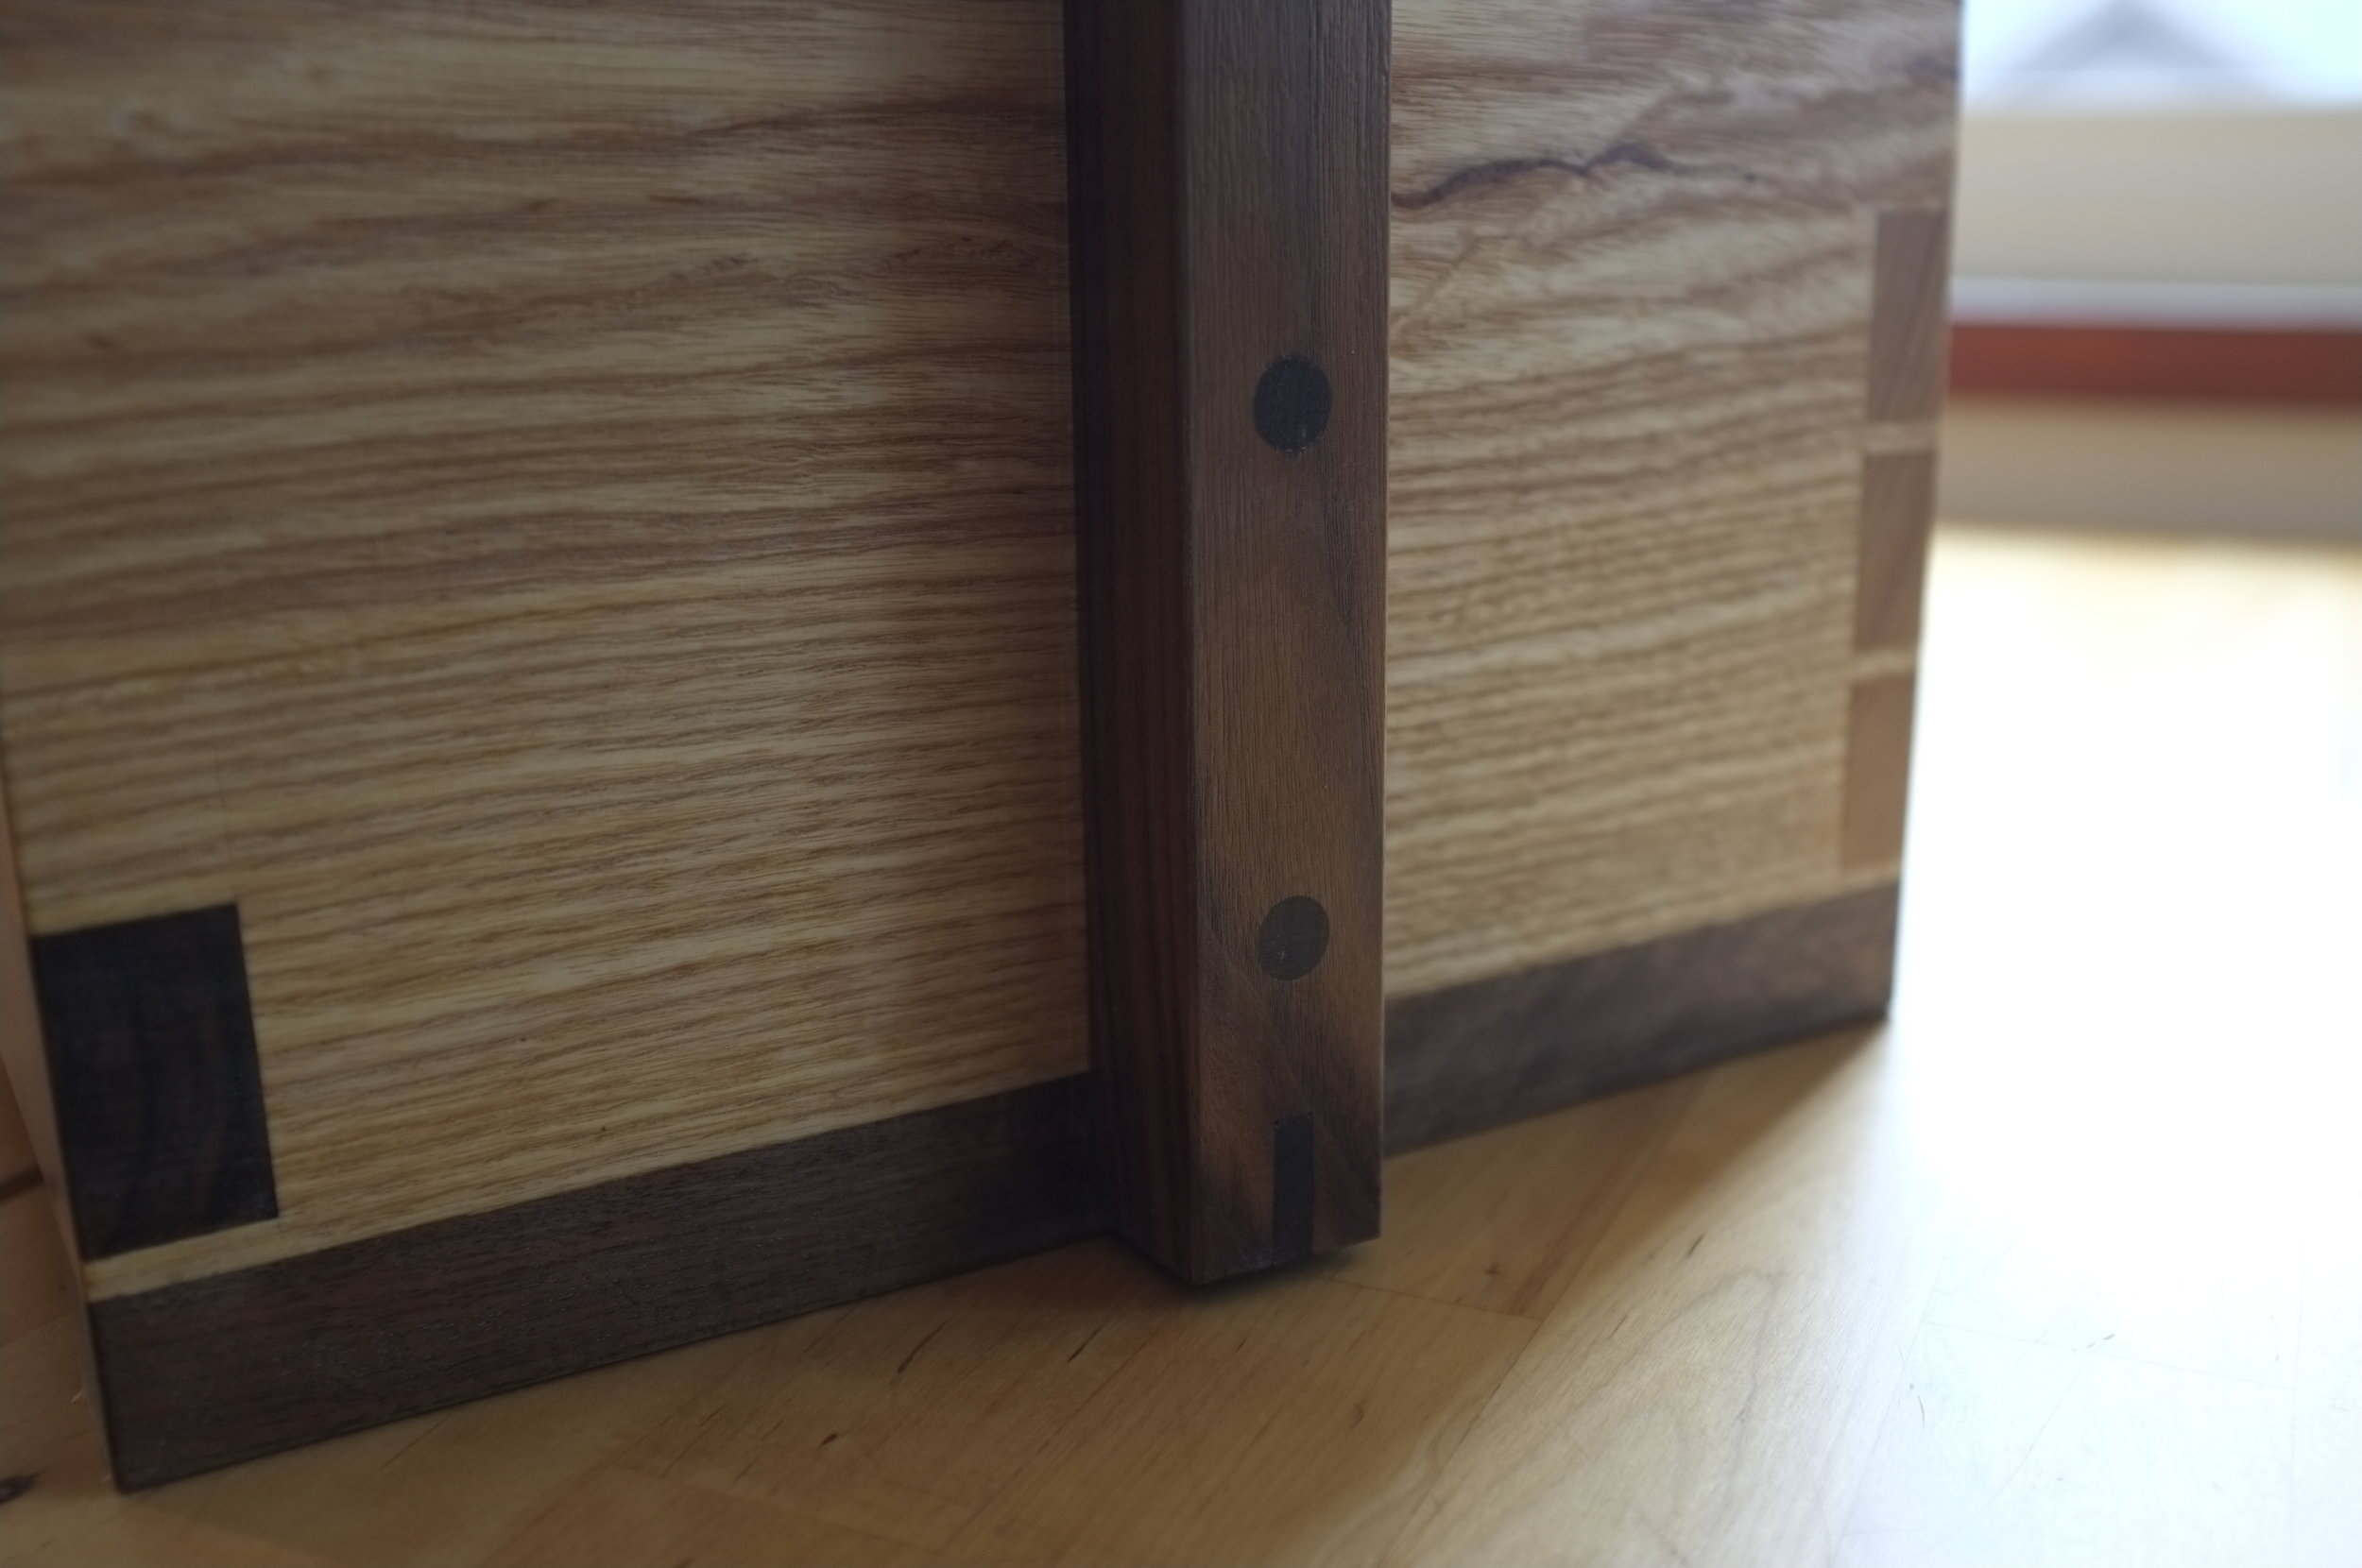
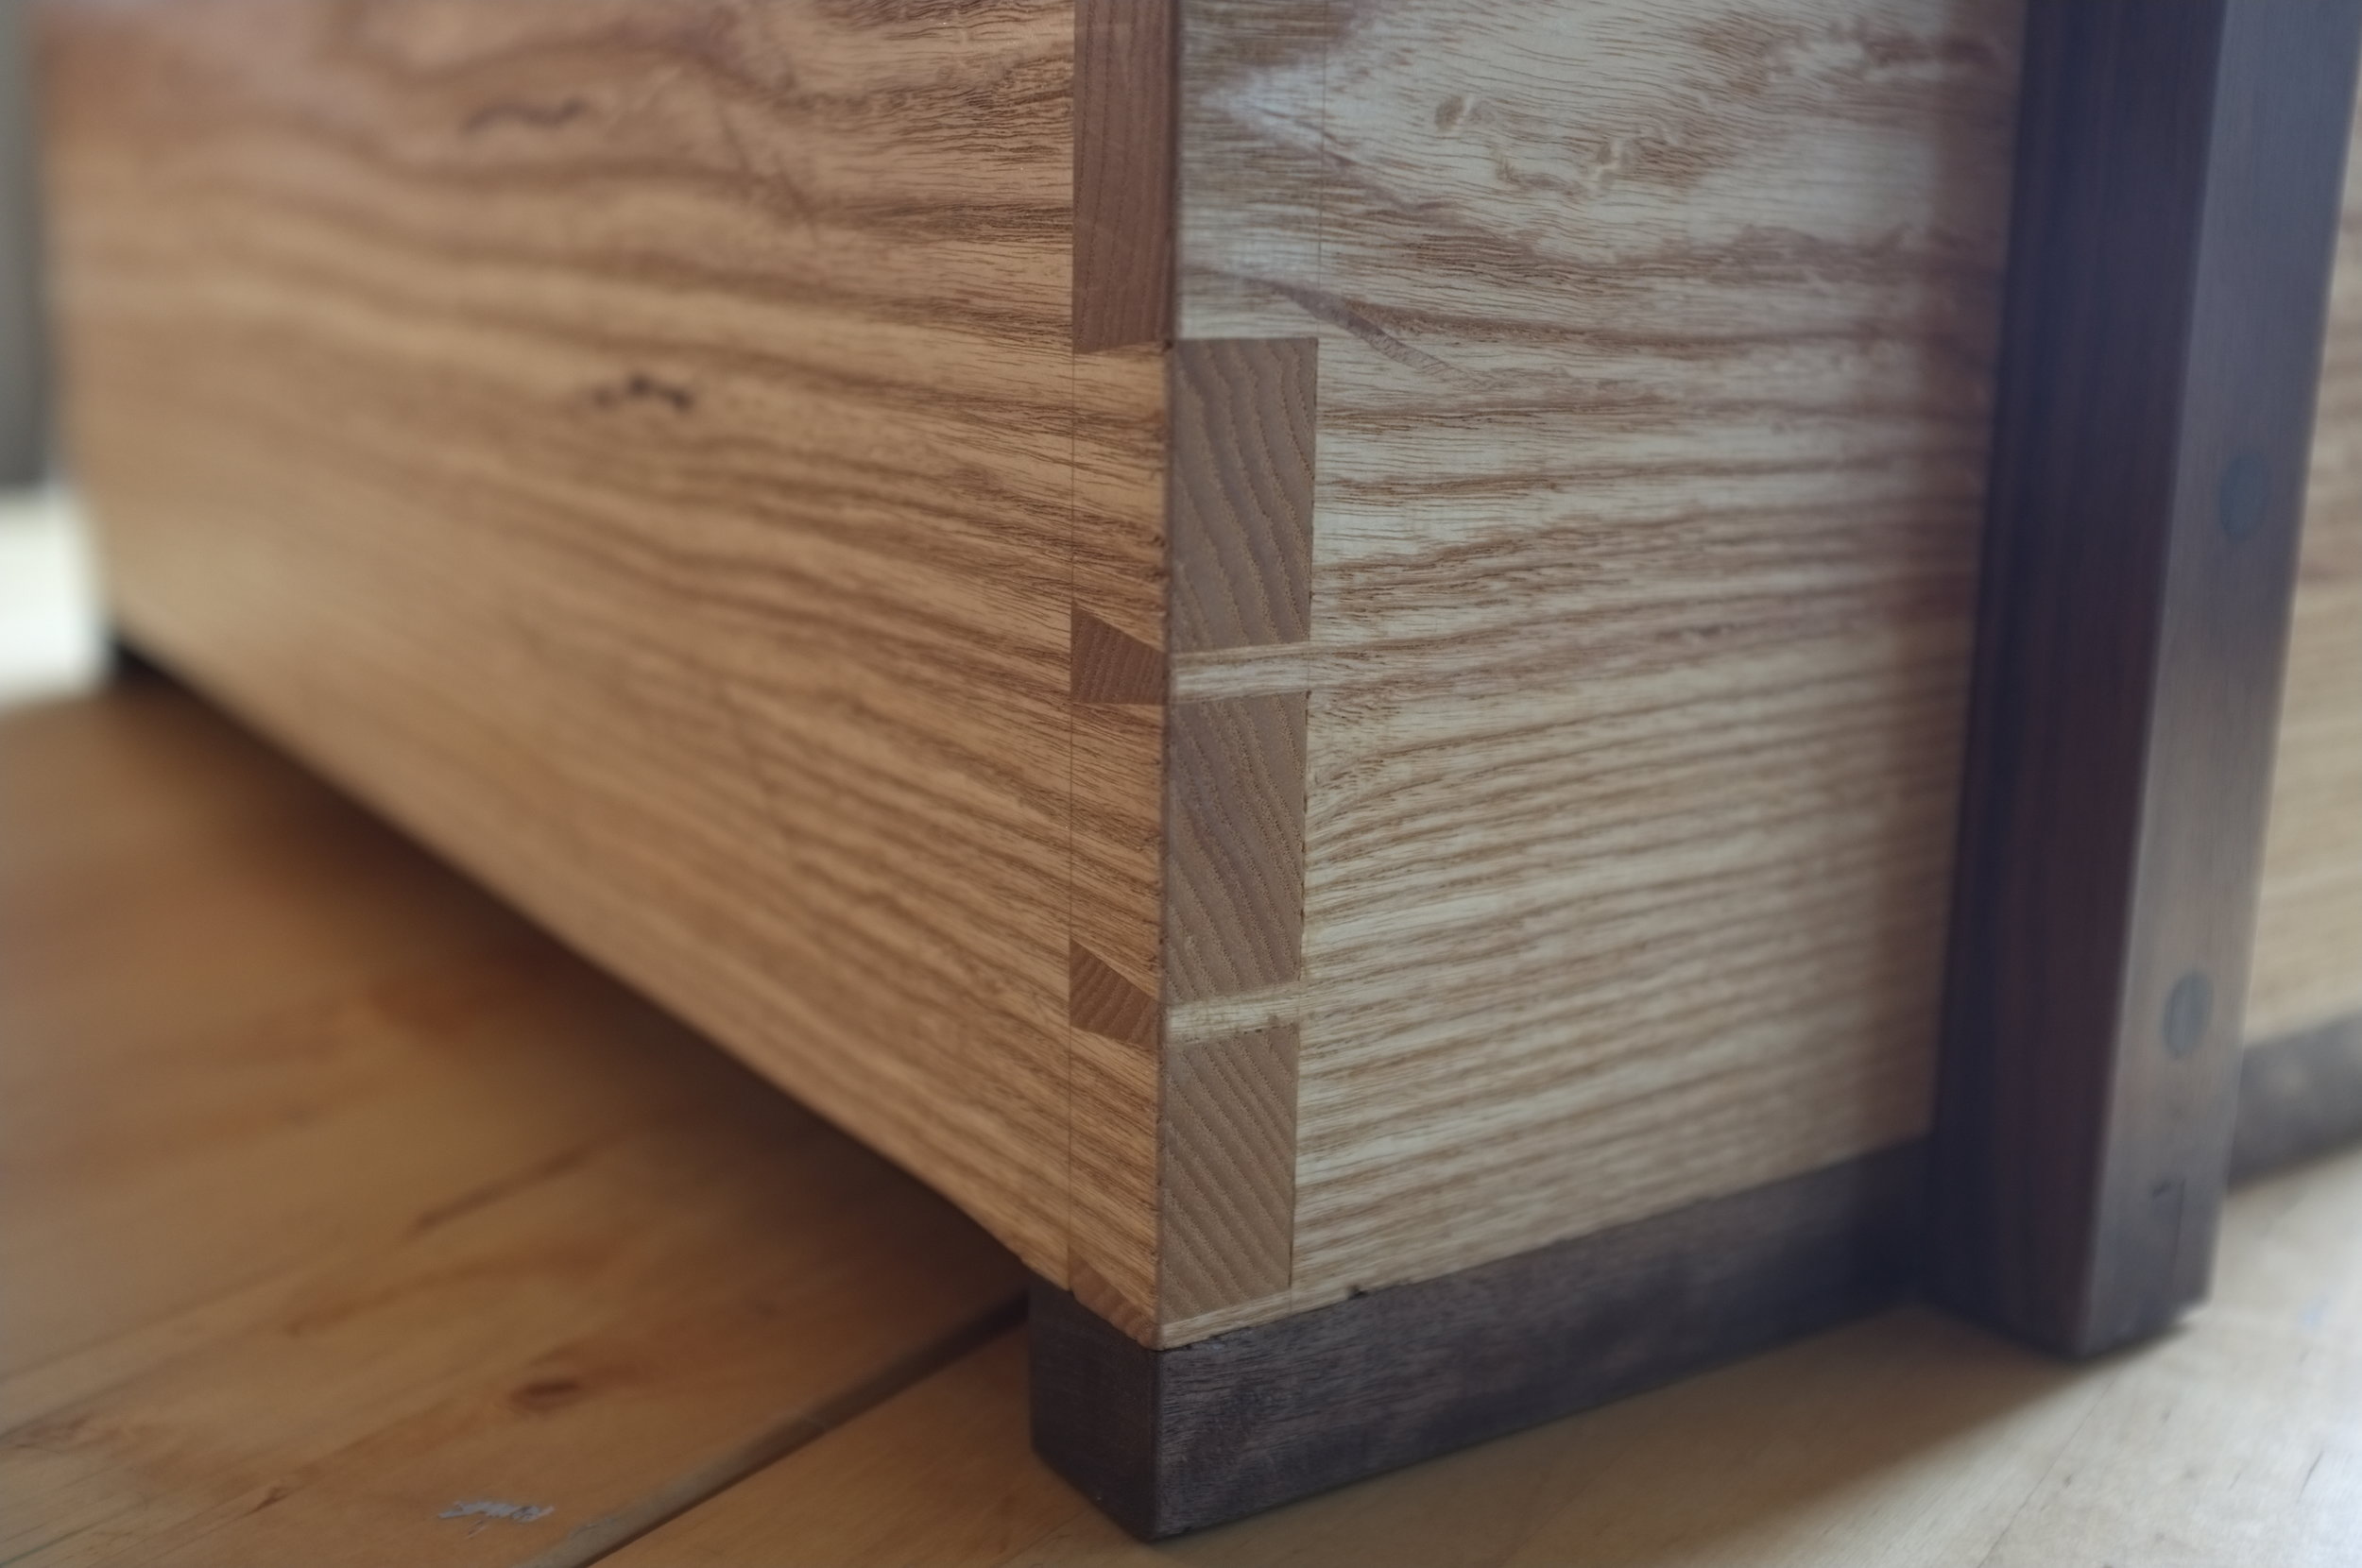
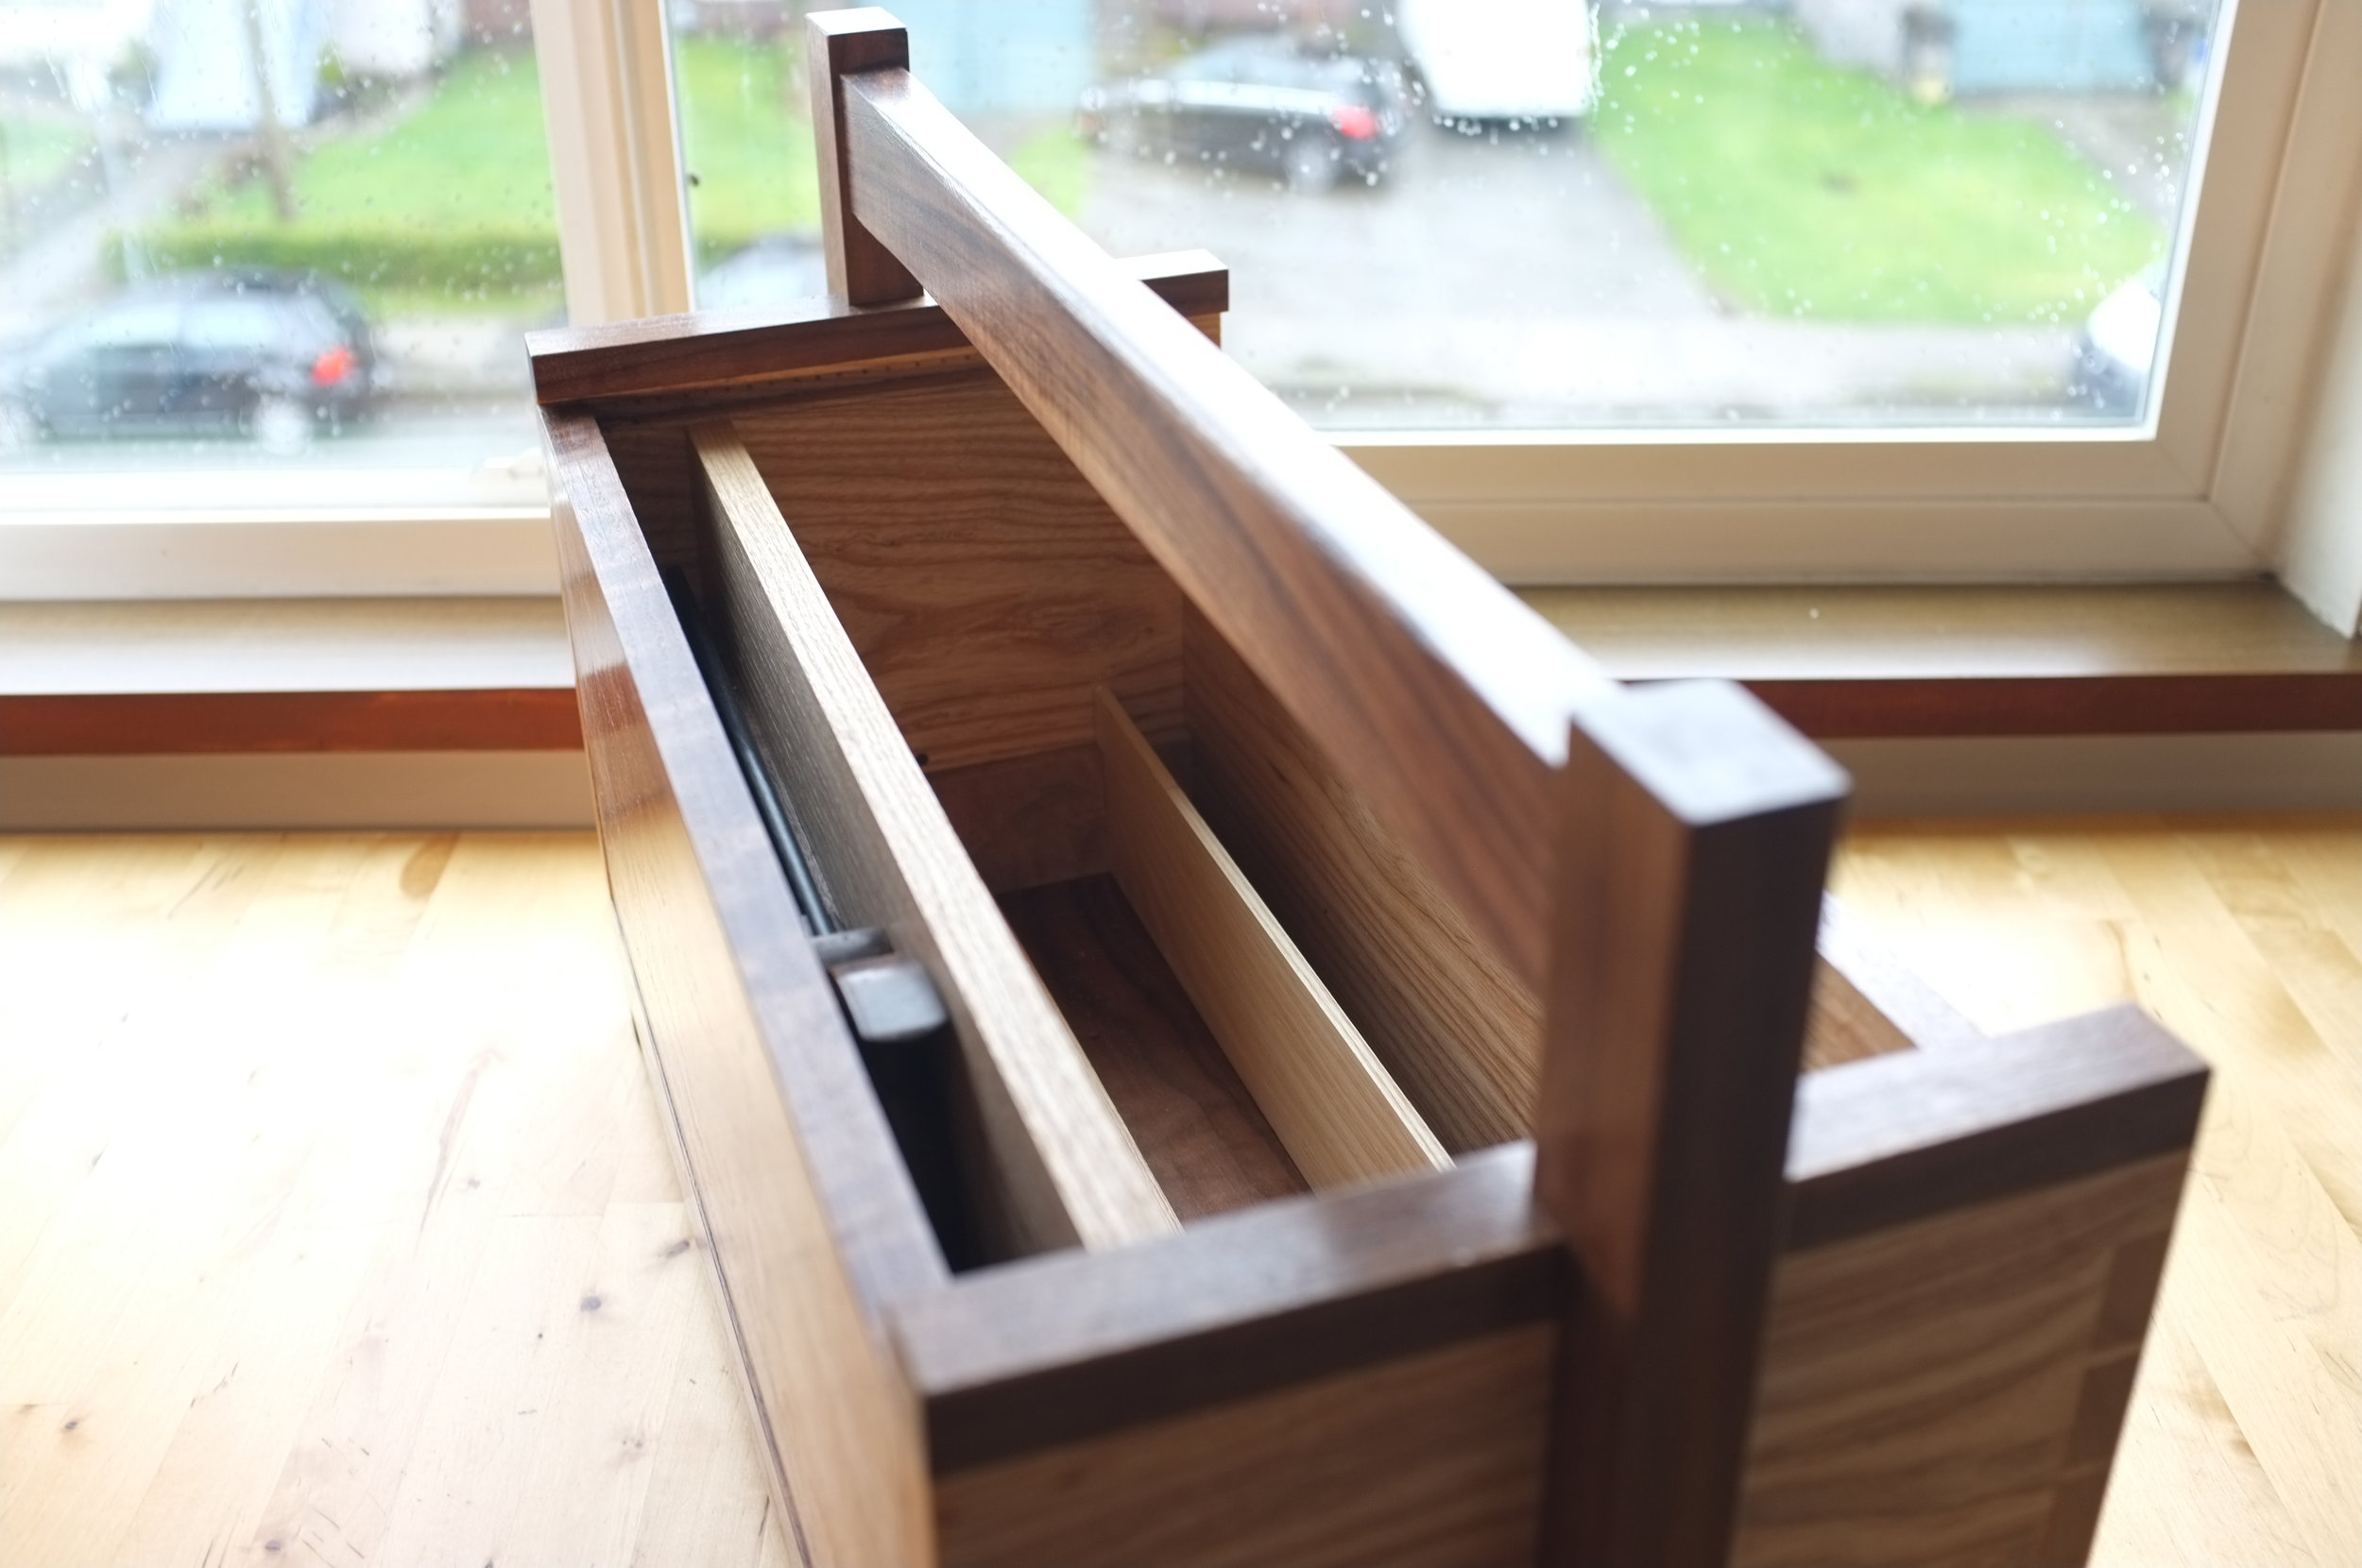
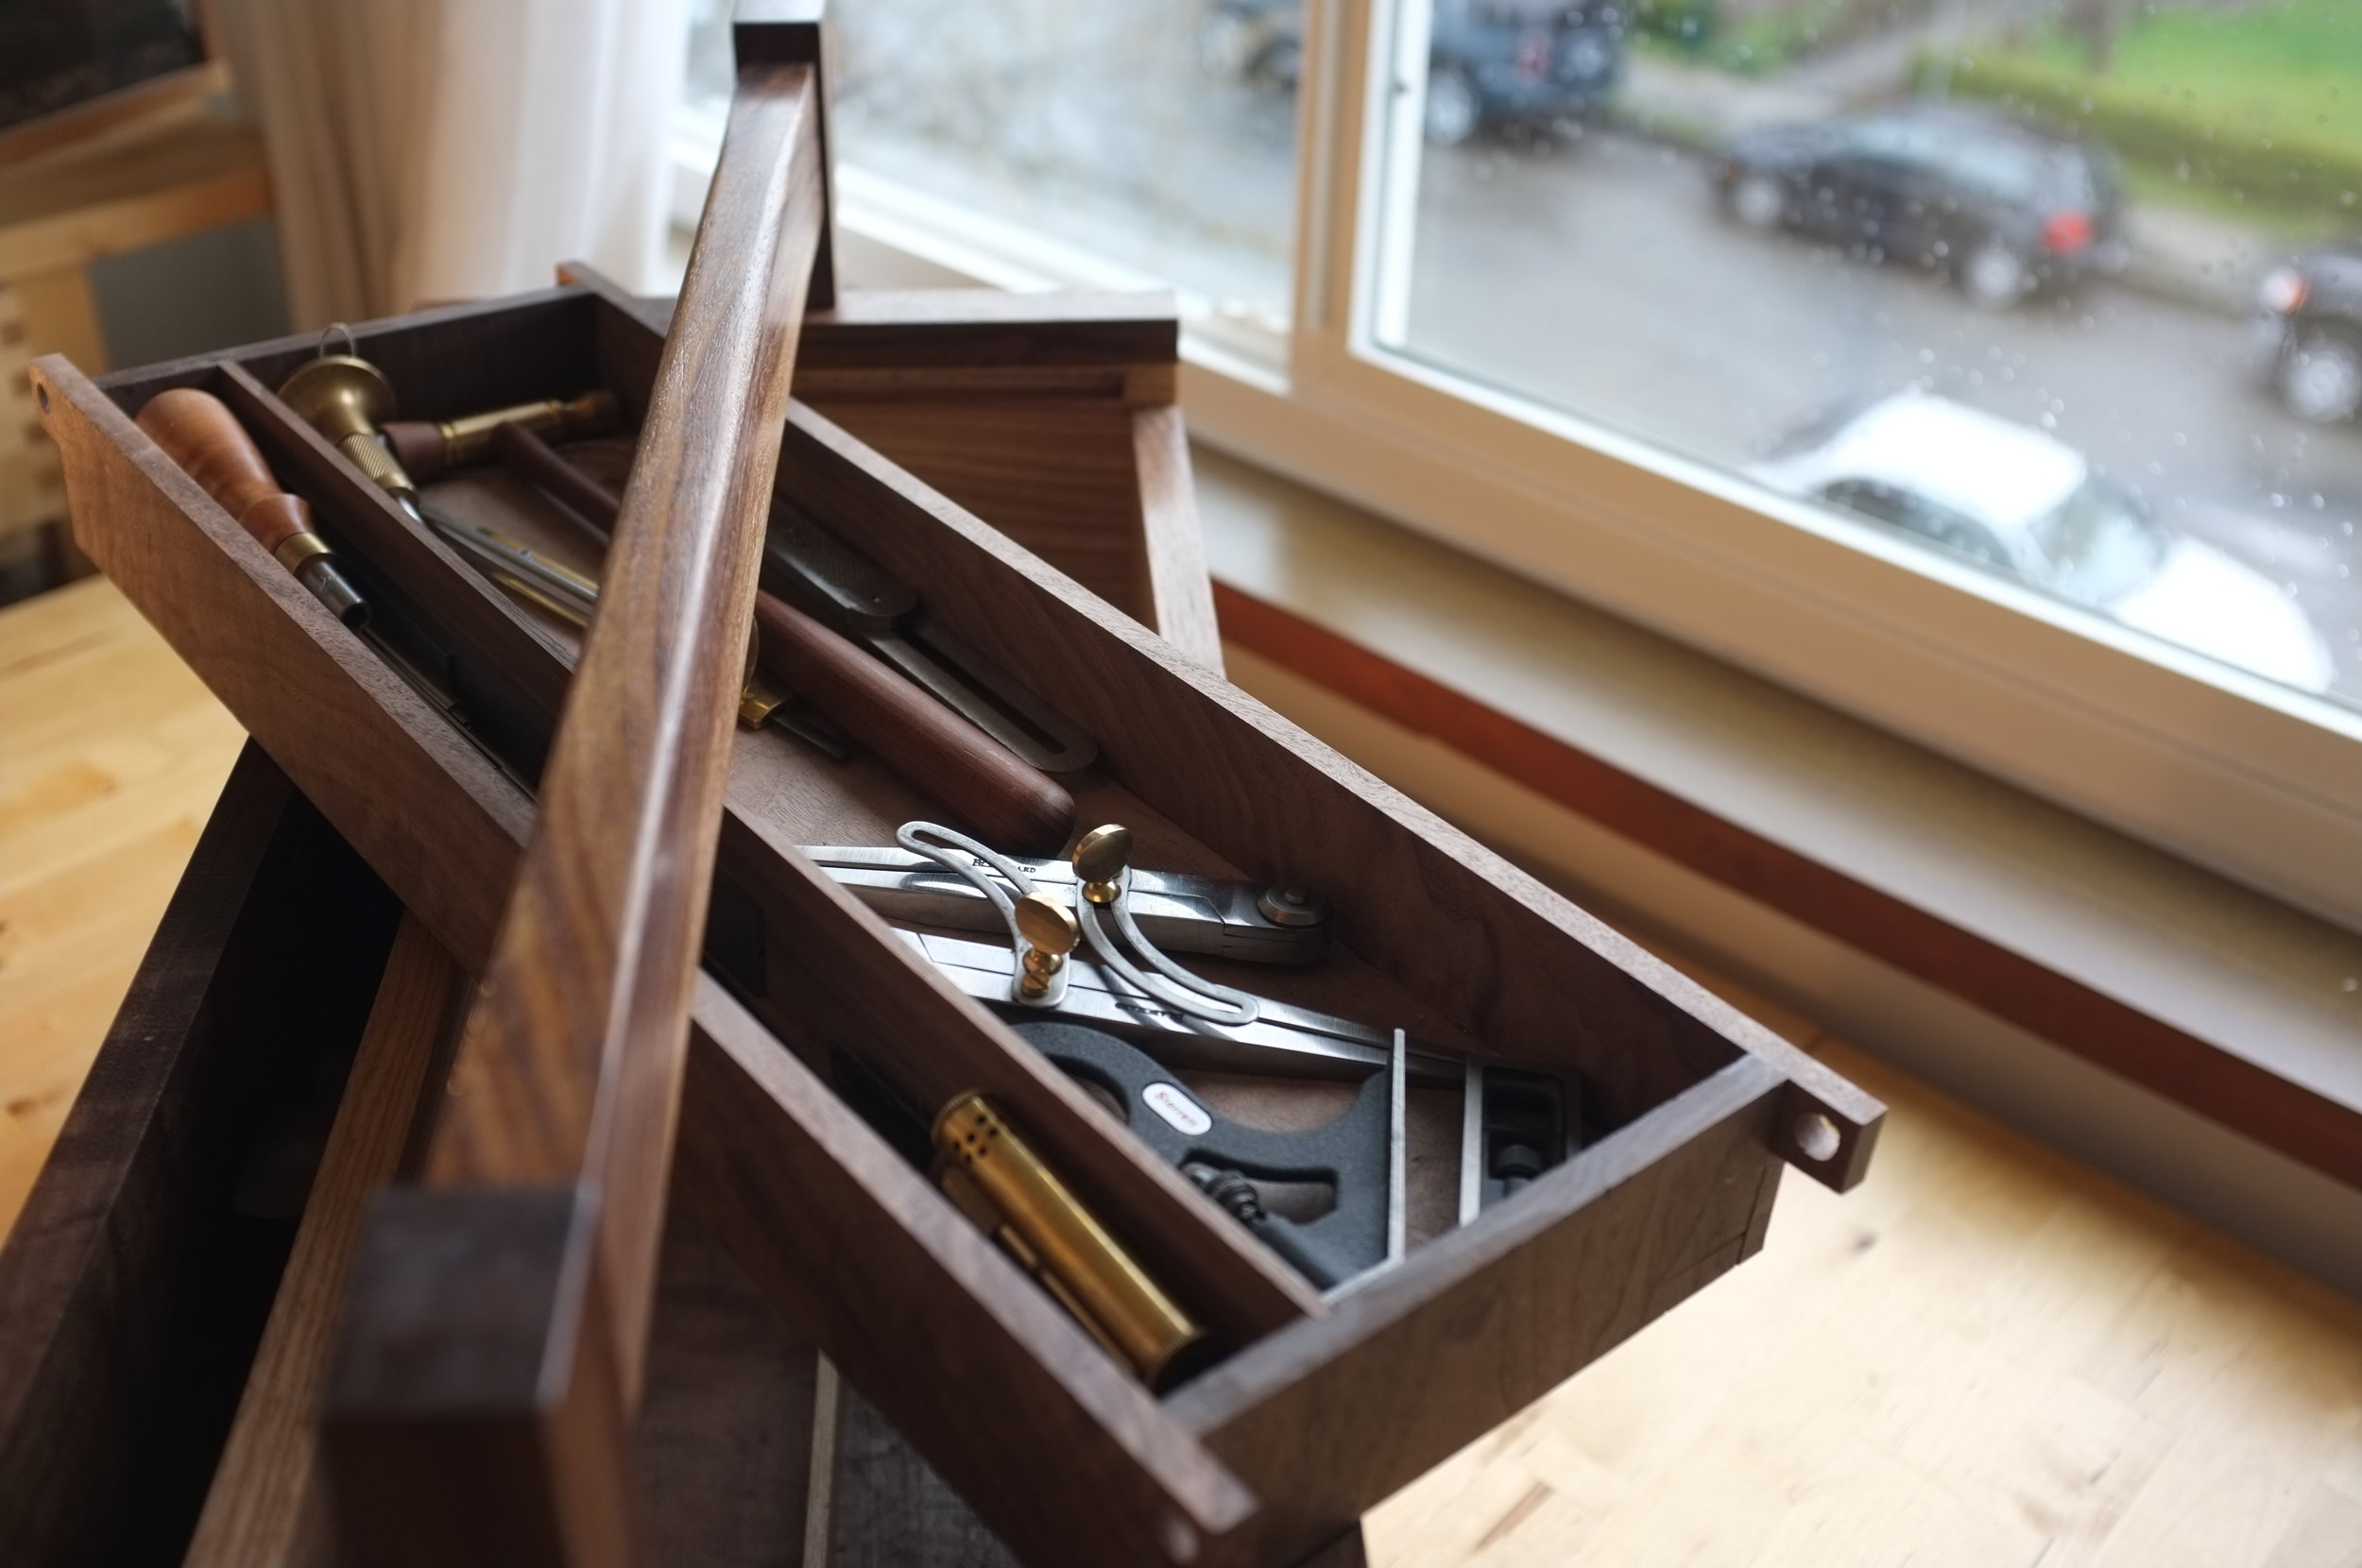
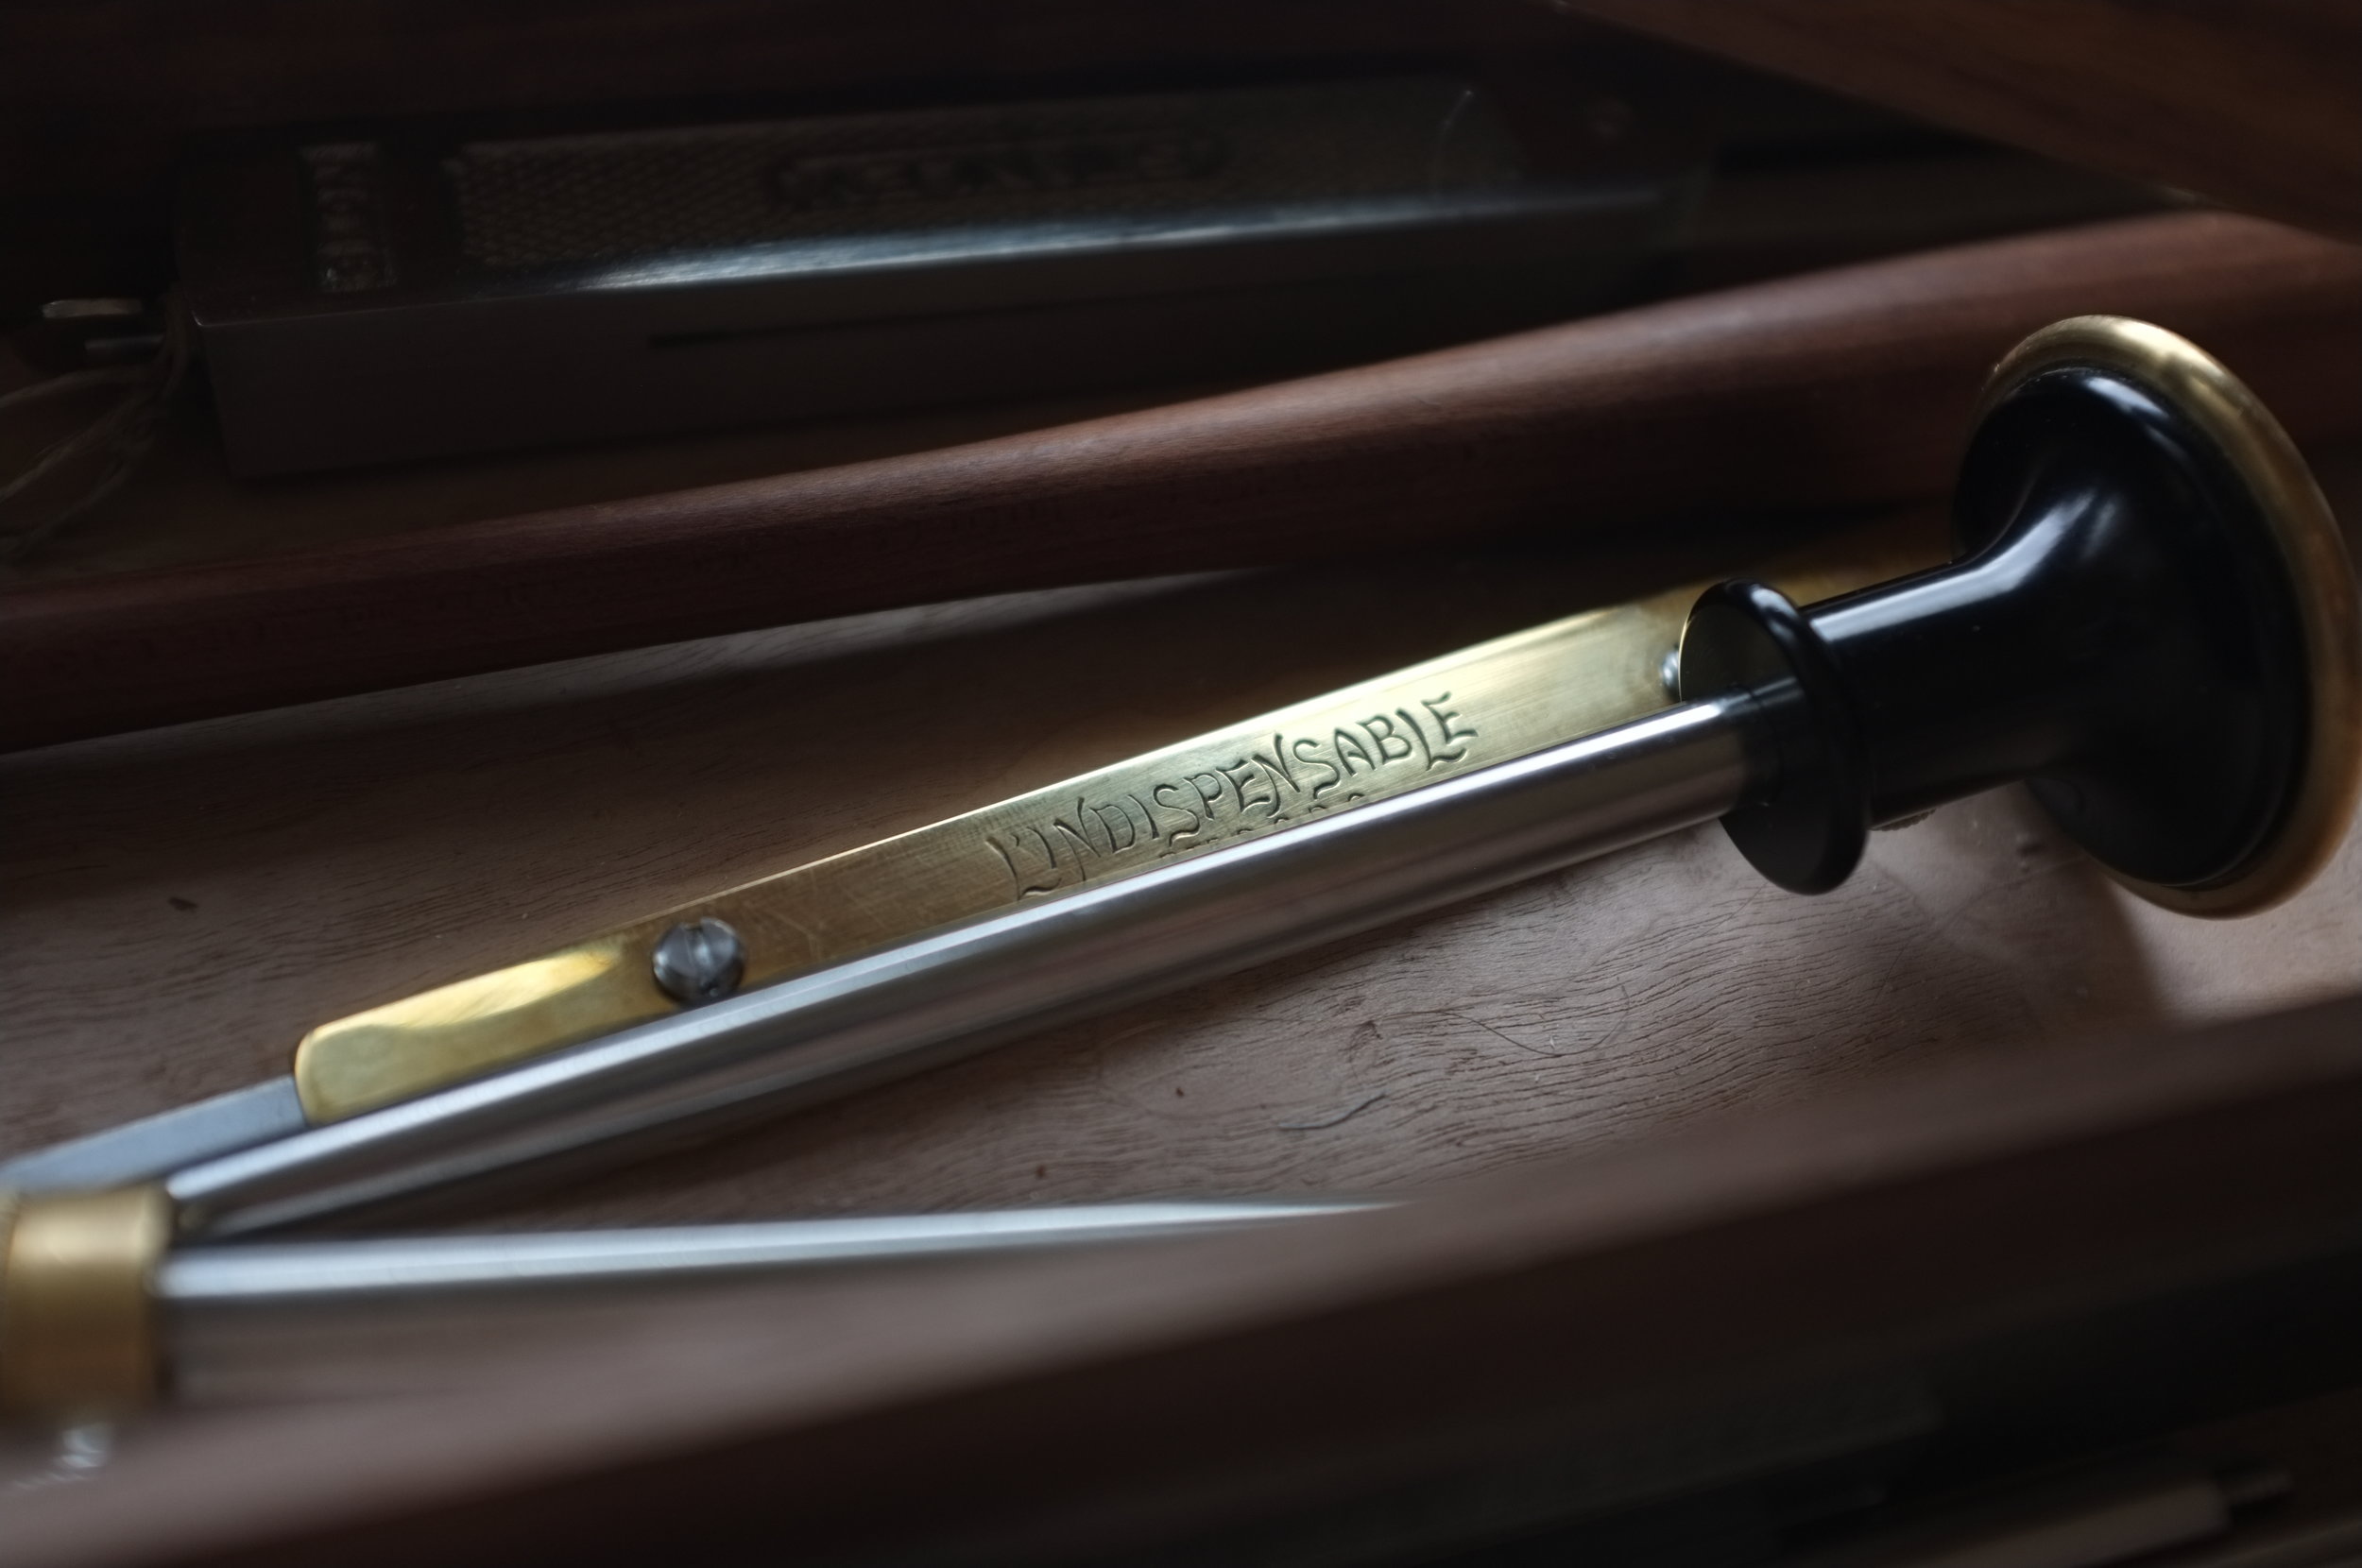
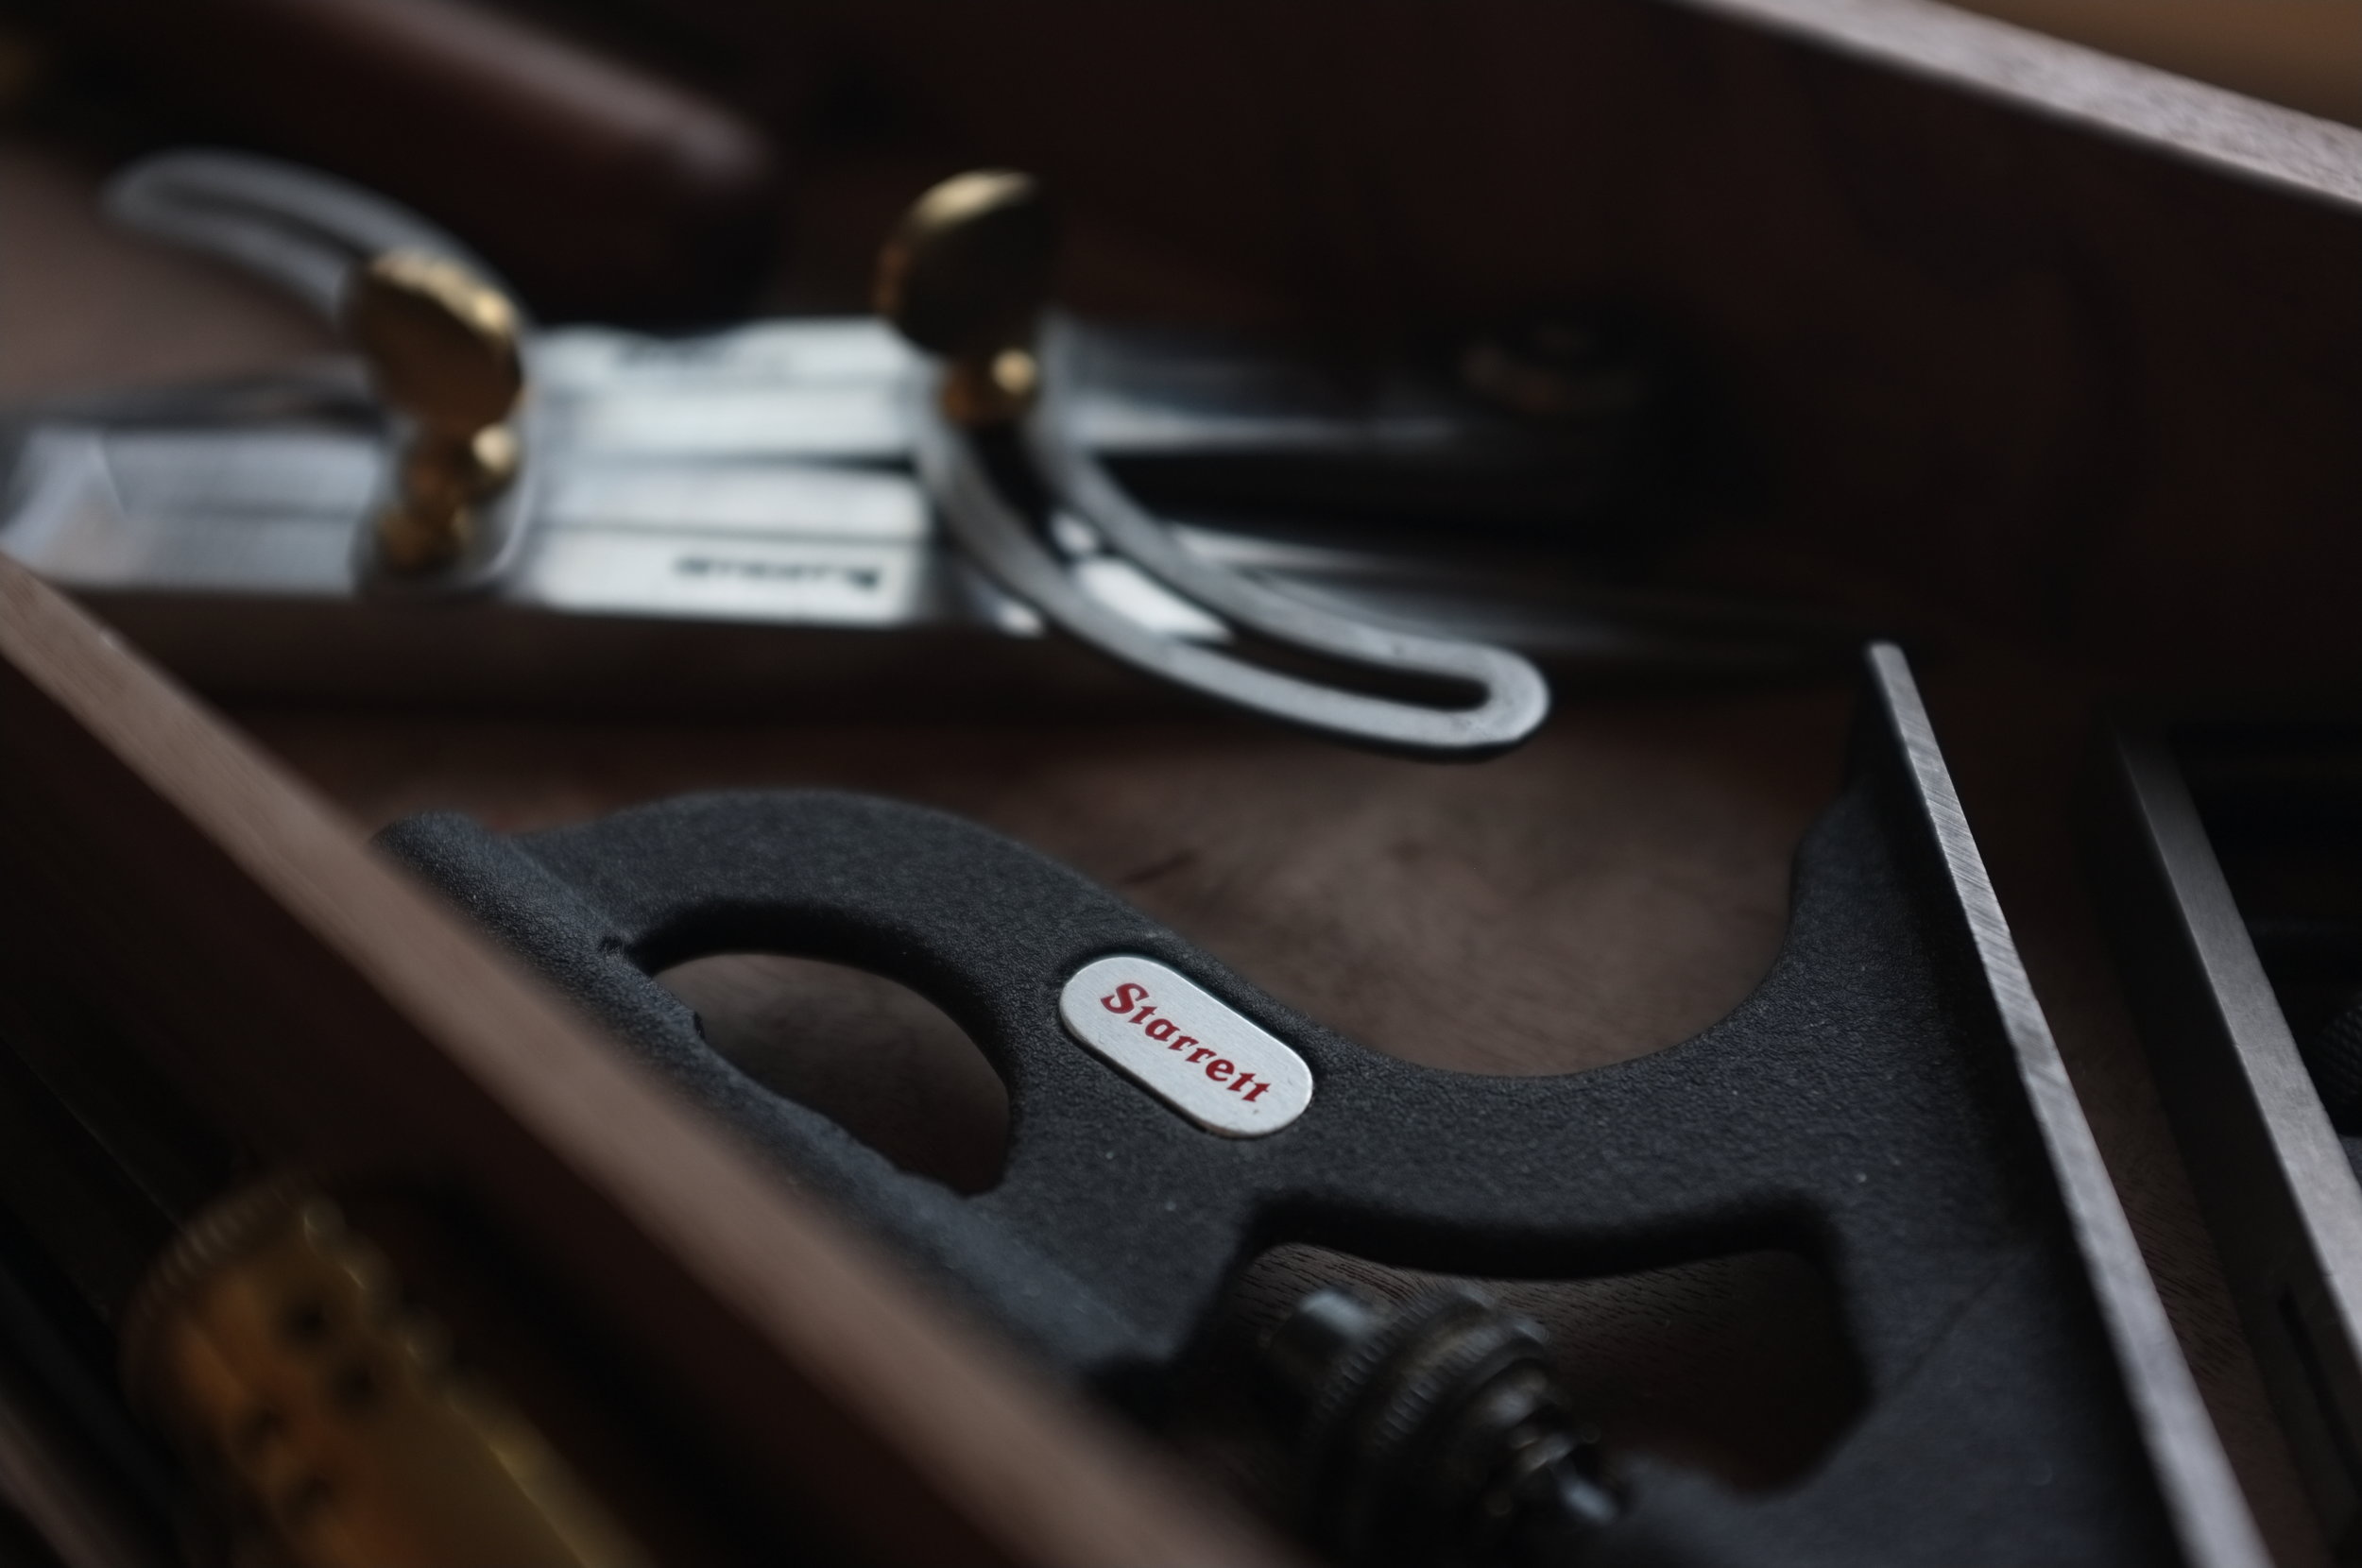
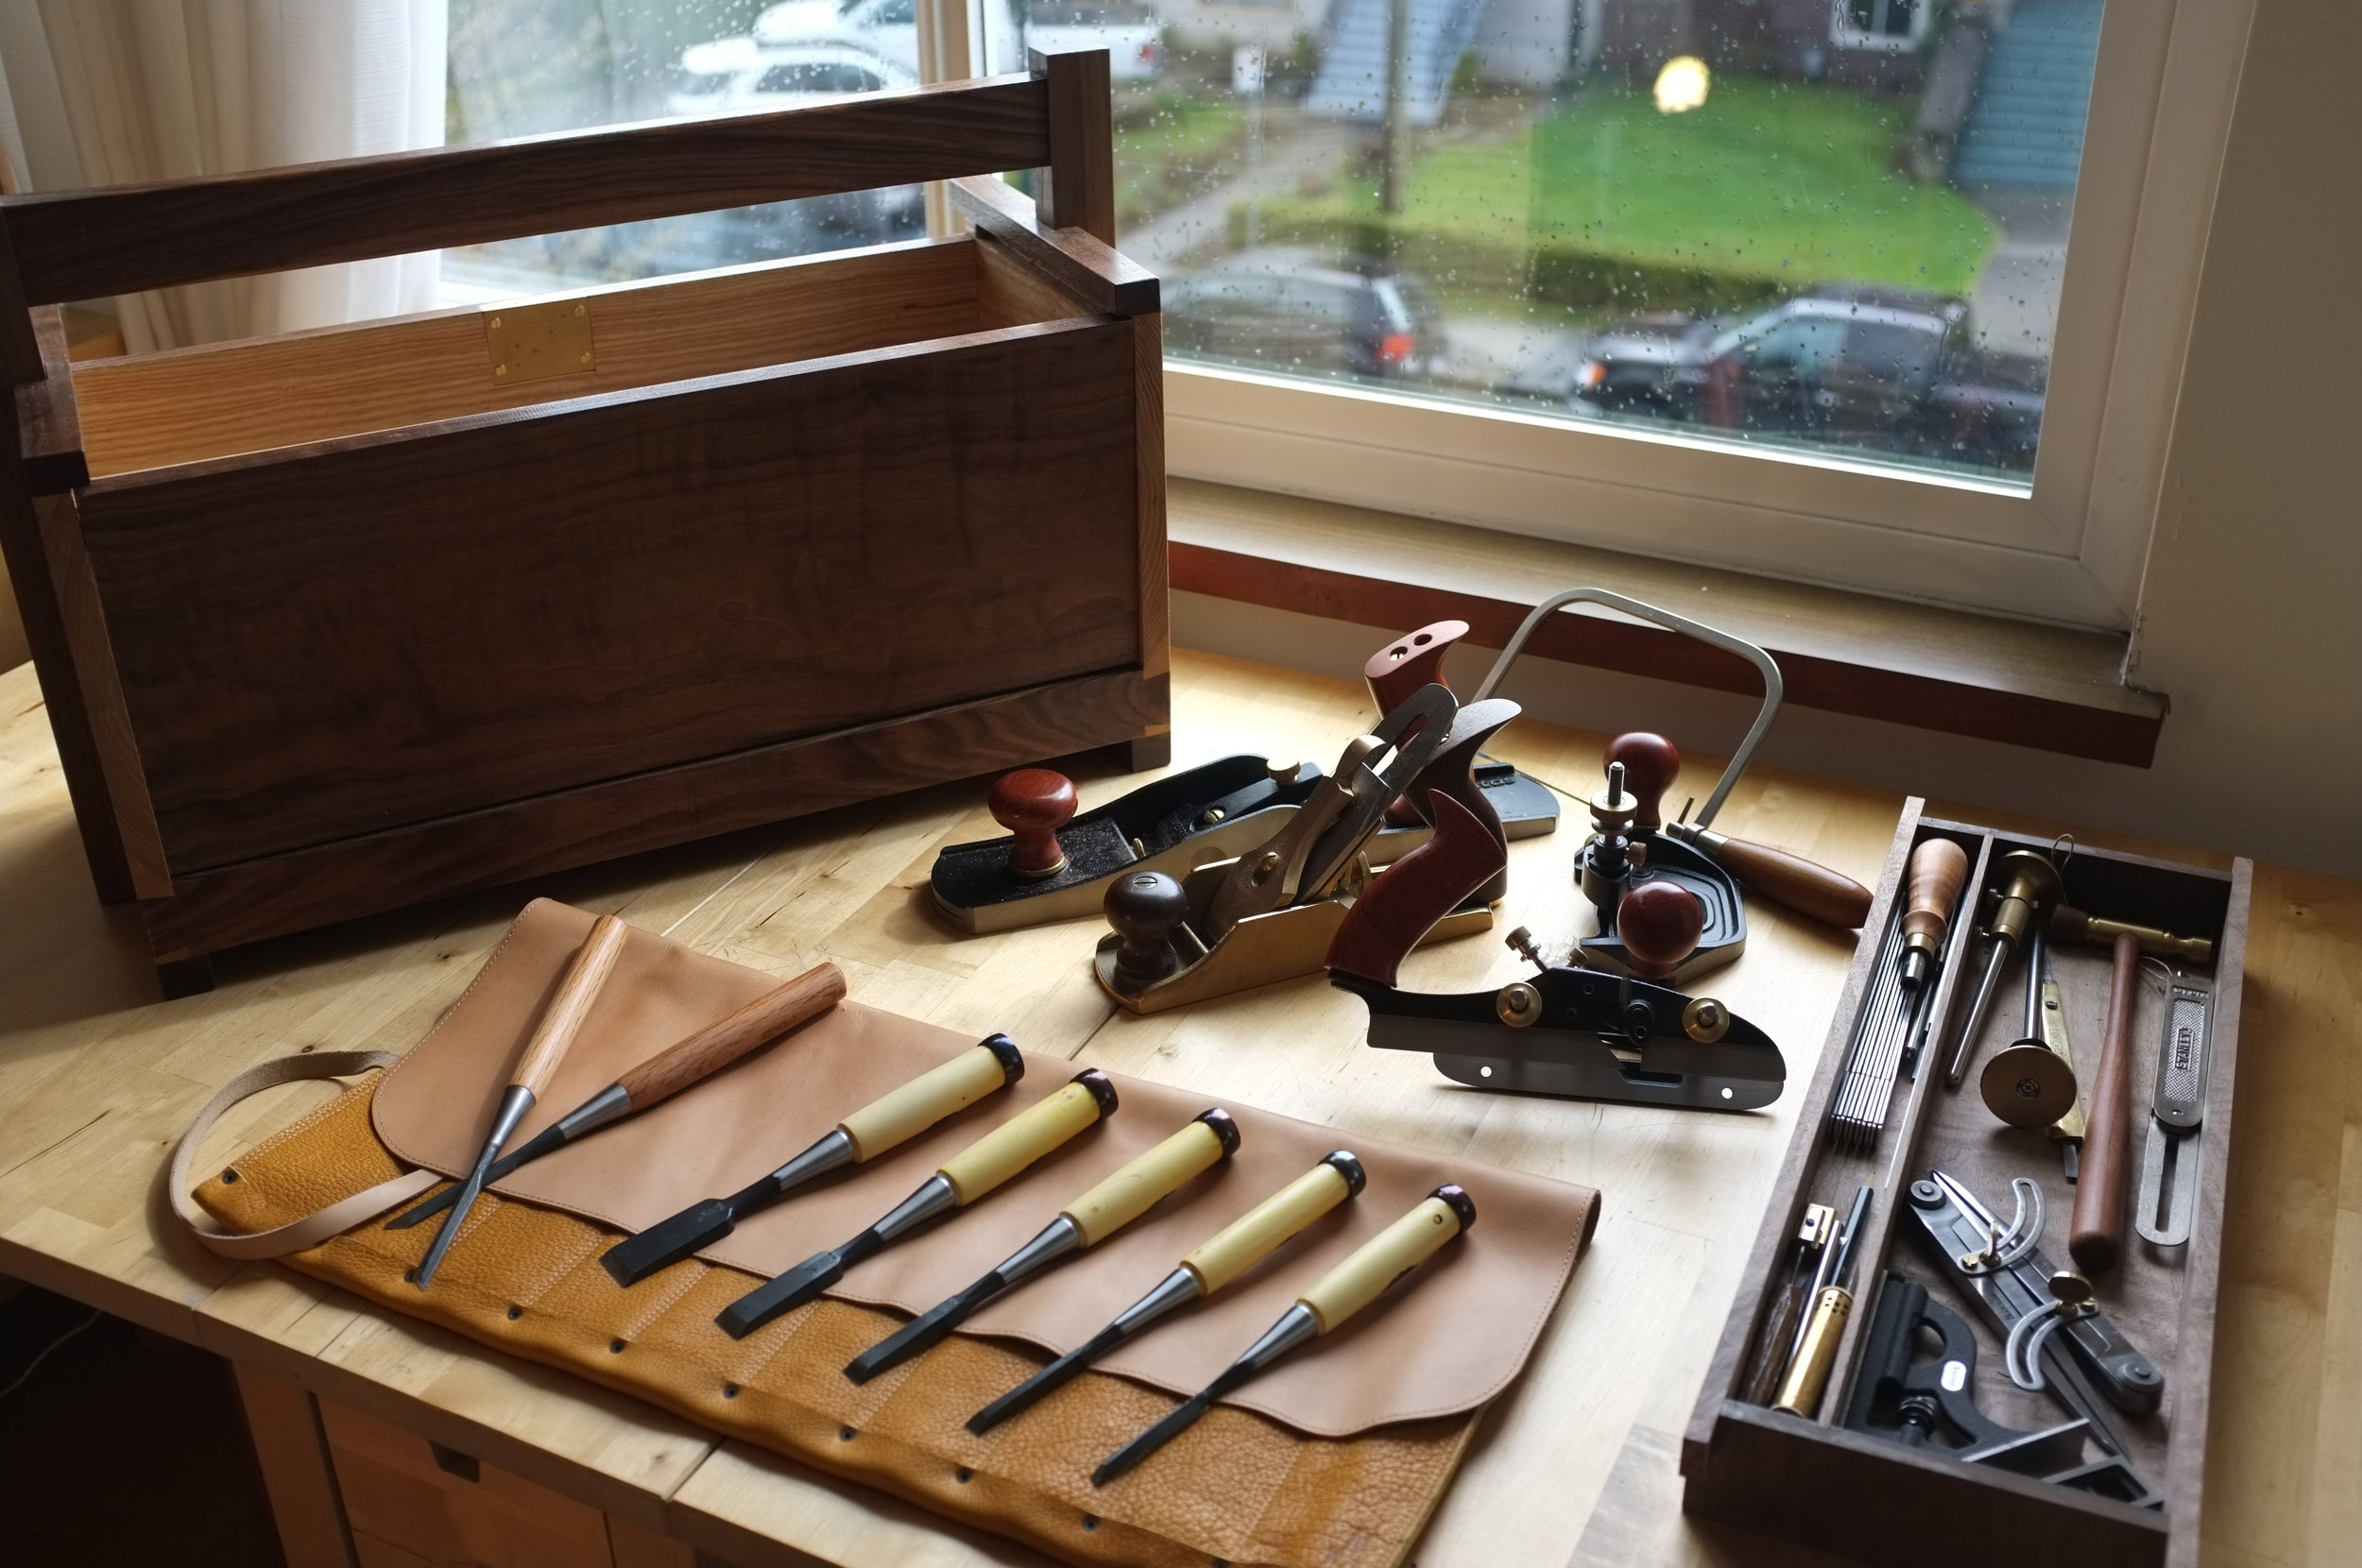
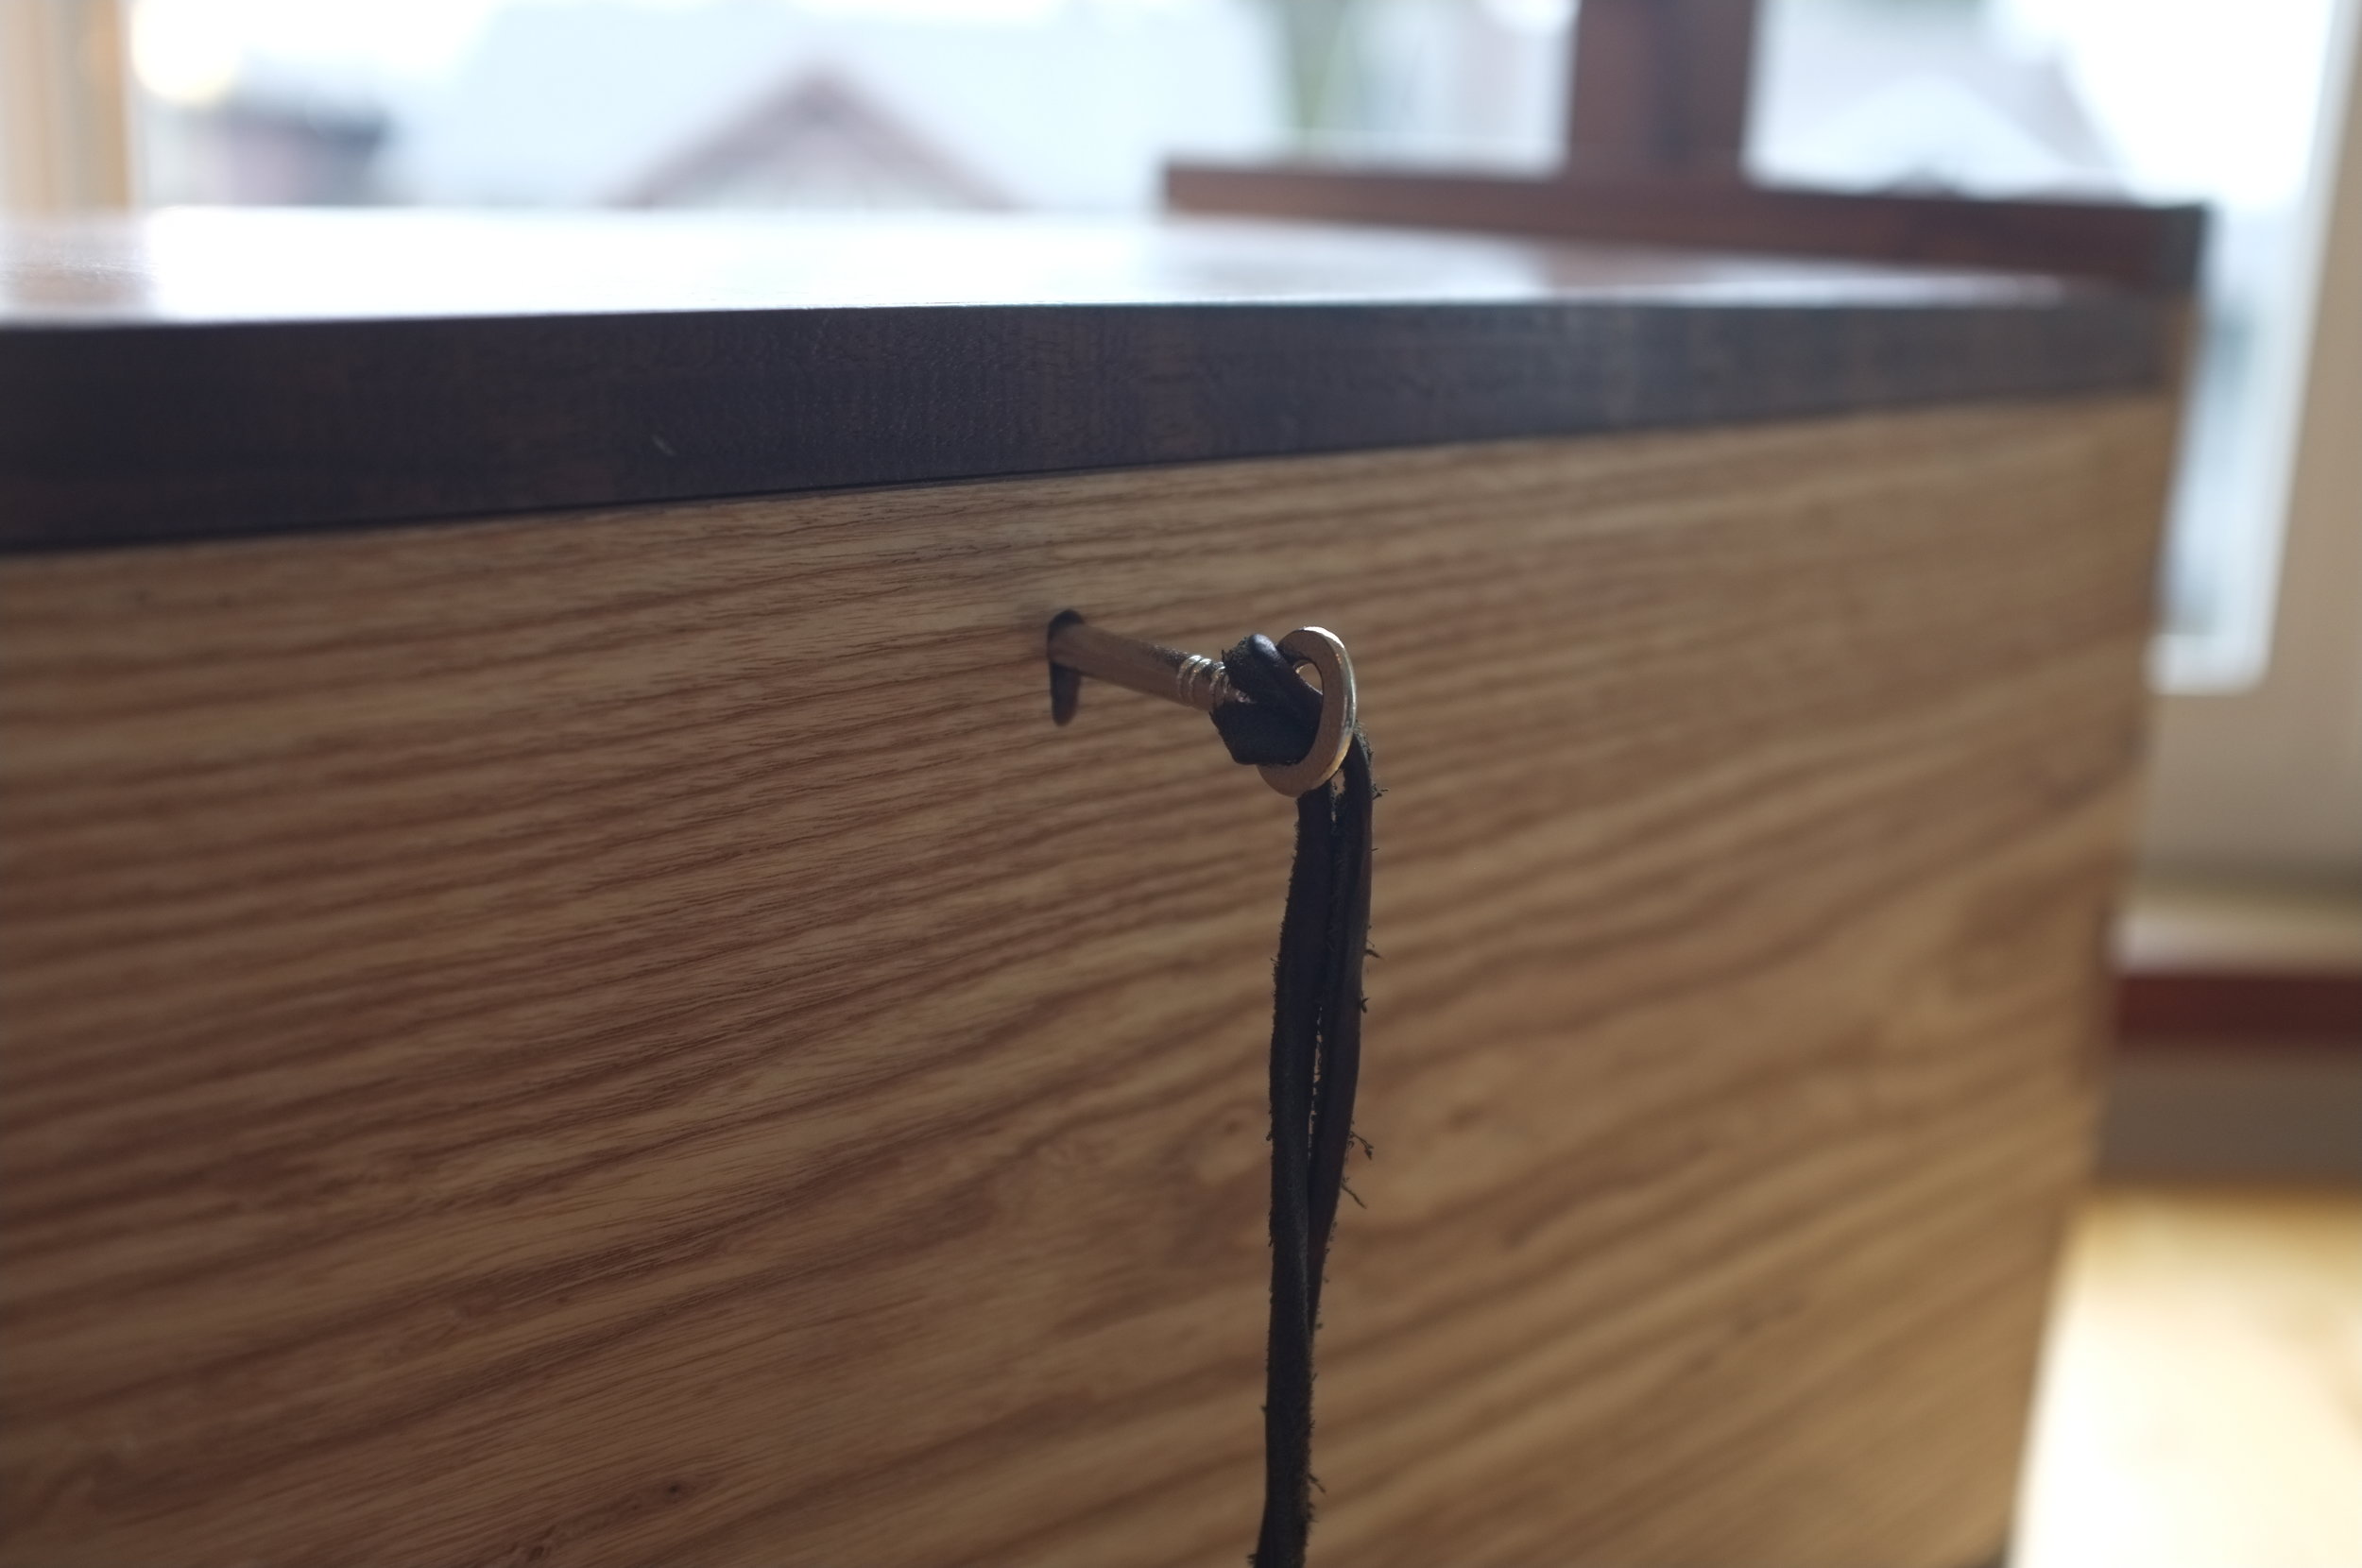
It’s easy to cheat yourself out of experiences when woodworking. The crosspin is one of the more difficult parts of building a krenov plane. Some will elect to just use a dowel, others will create a jig and use a plug cutting bit. I tried and failed with a plug cutter multiple times. It’s a fussy setup and I never could get it quite right. This pursuit of efficiency and repeatability came at the cost of developing hand tool skills. Filing square to round and trusting your hand and eye. Took it slow tonight and did it right way, all while listening to an excellent podcast by www.handtoolbookreview.com. Check it out.
Offcuts
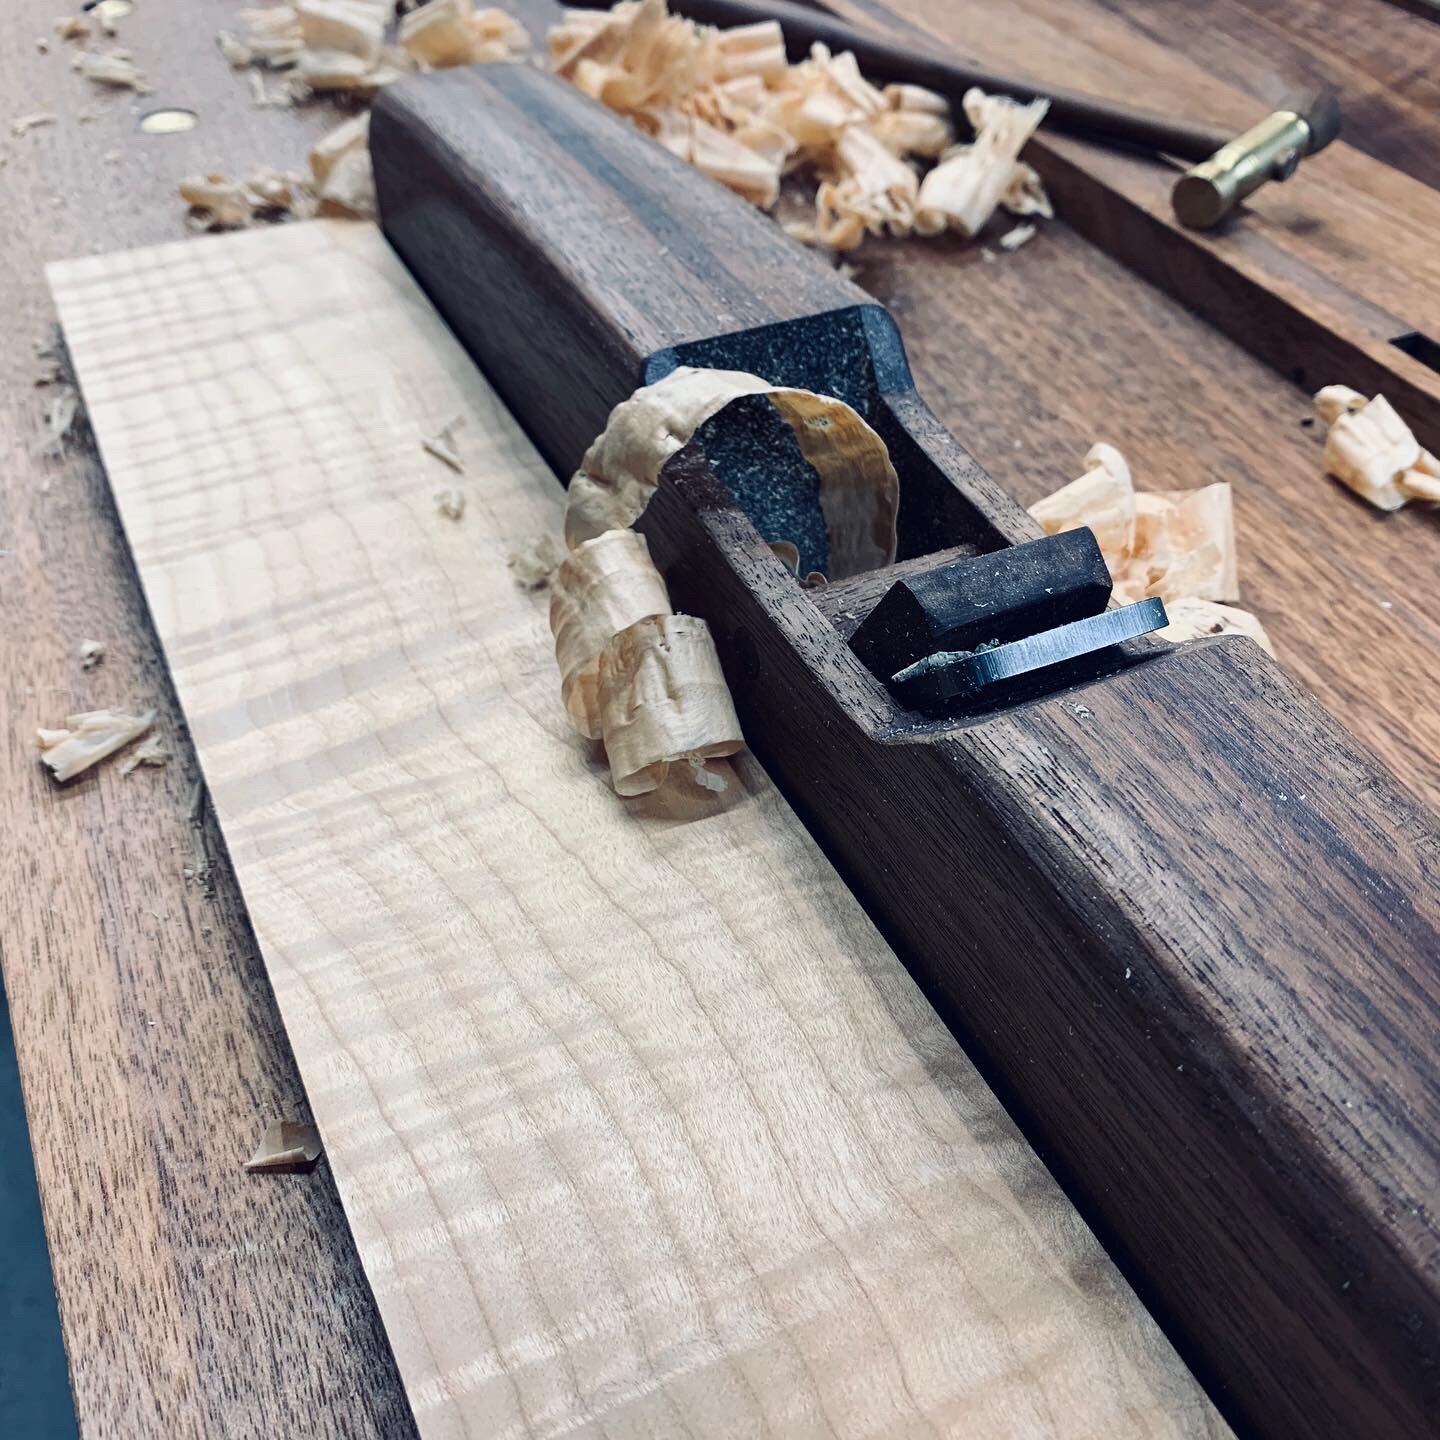
There’s something deeply satisfying about making your own tools. After finishing the bench build I was left with a good sized offcut, which I decided to use to make few krenov style planes. This one’s a jointer which is just over 19” long. I’ve laminated a pau ferro sole for durability and bedded the iron at just over 45 degrees. Decided against a chip breaker, as I wanted to keep it as pure as possible… besides I have a distaste for routers and didn’t want to mill a slot for the chipbreaker screw. I’m able to plane figured maple glass smooth so i’m not too concerned about tearout issues. I’m particularly happy with the form and I plan on making a smoother and coopering plane in the same Art Deco speedster style.
A Means To An End
I’ve been building this bench for so long that I’m a little sad to see it come to an end. It strange, usually projects tend to drag towards the end but this one really accelerated, so apologies for cramming a lot into this last update.
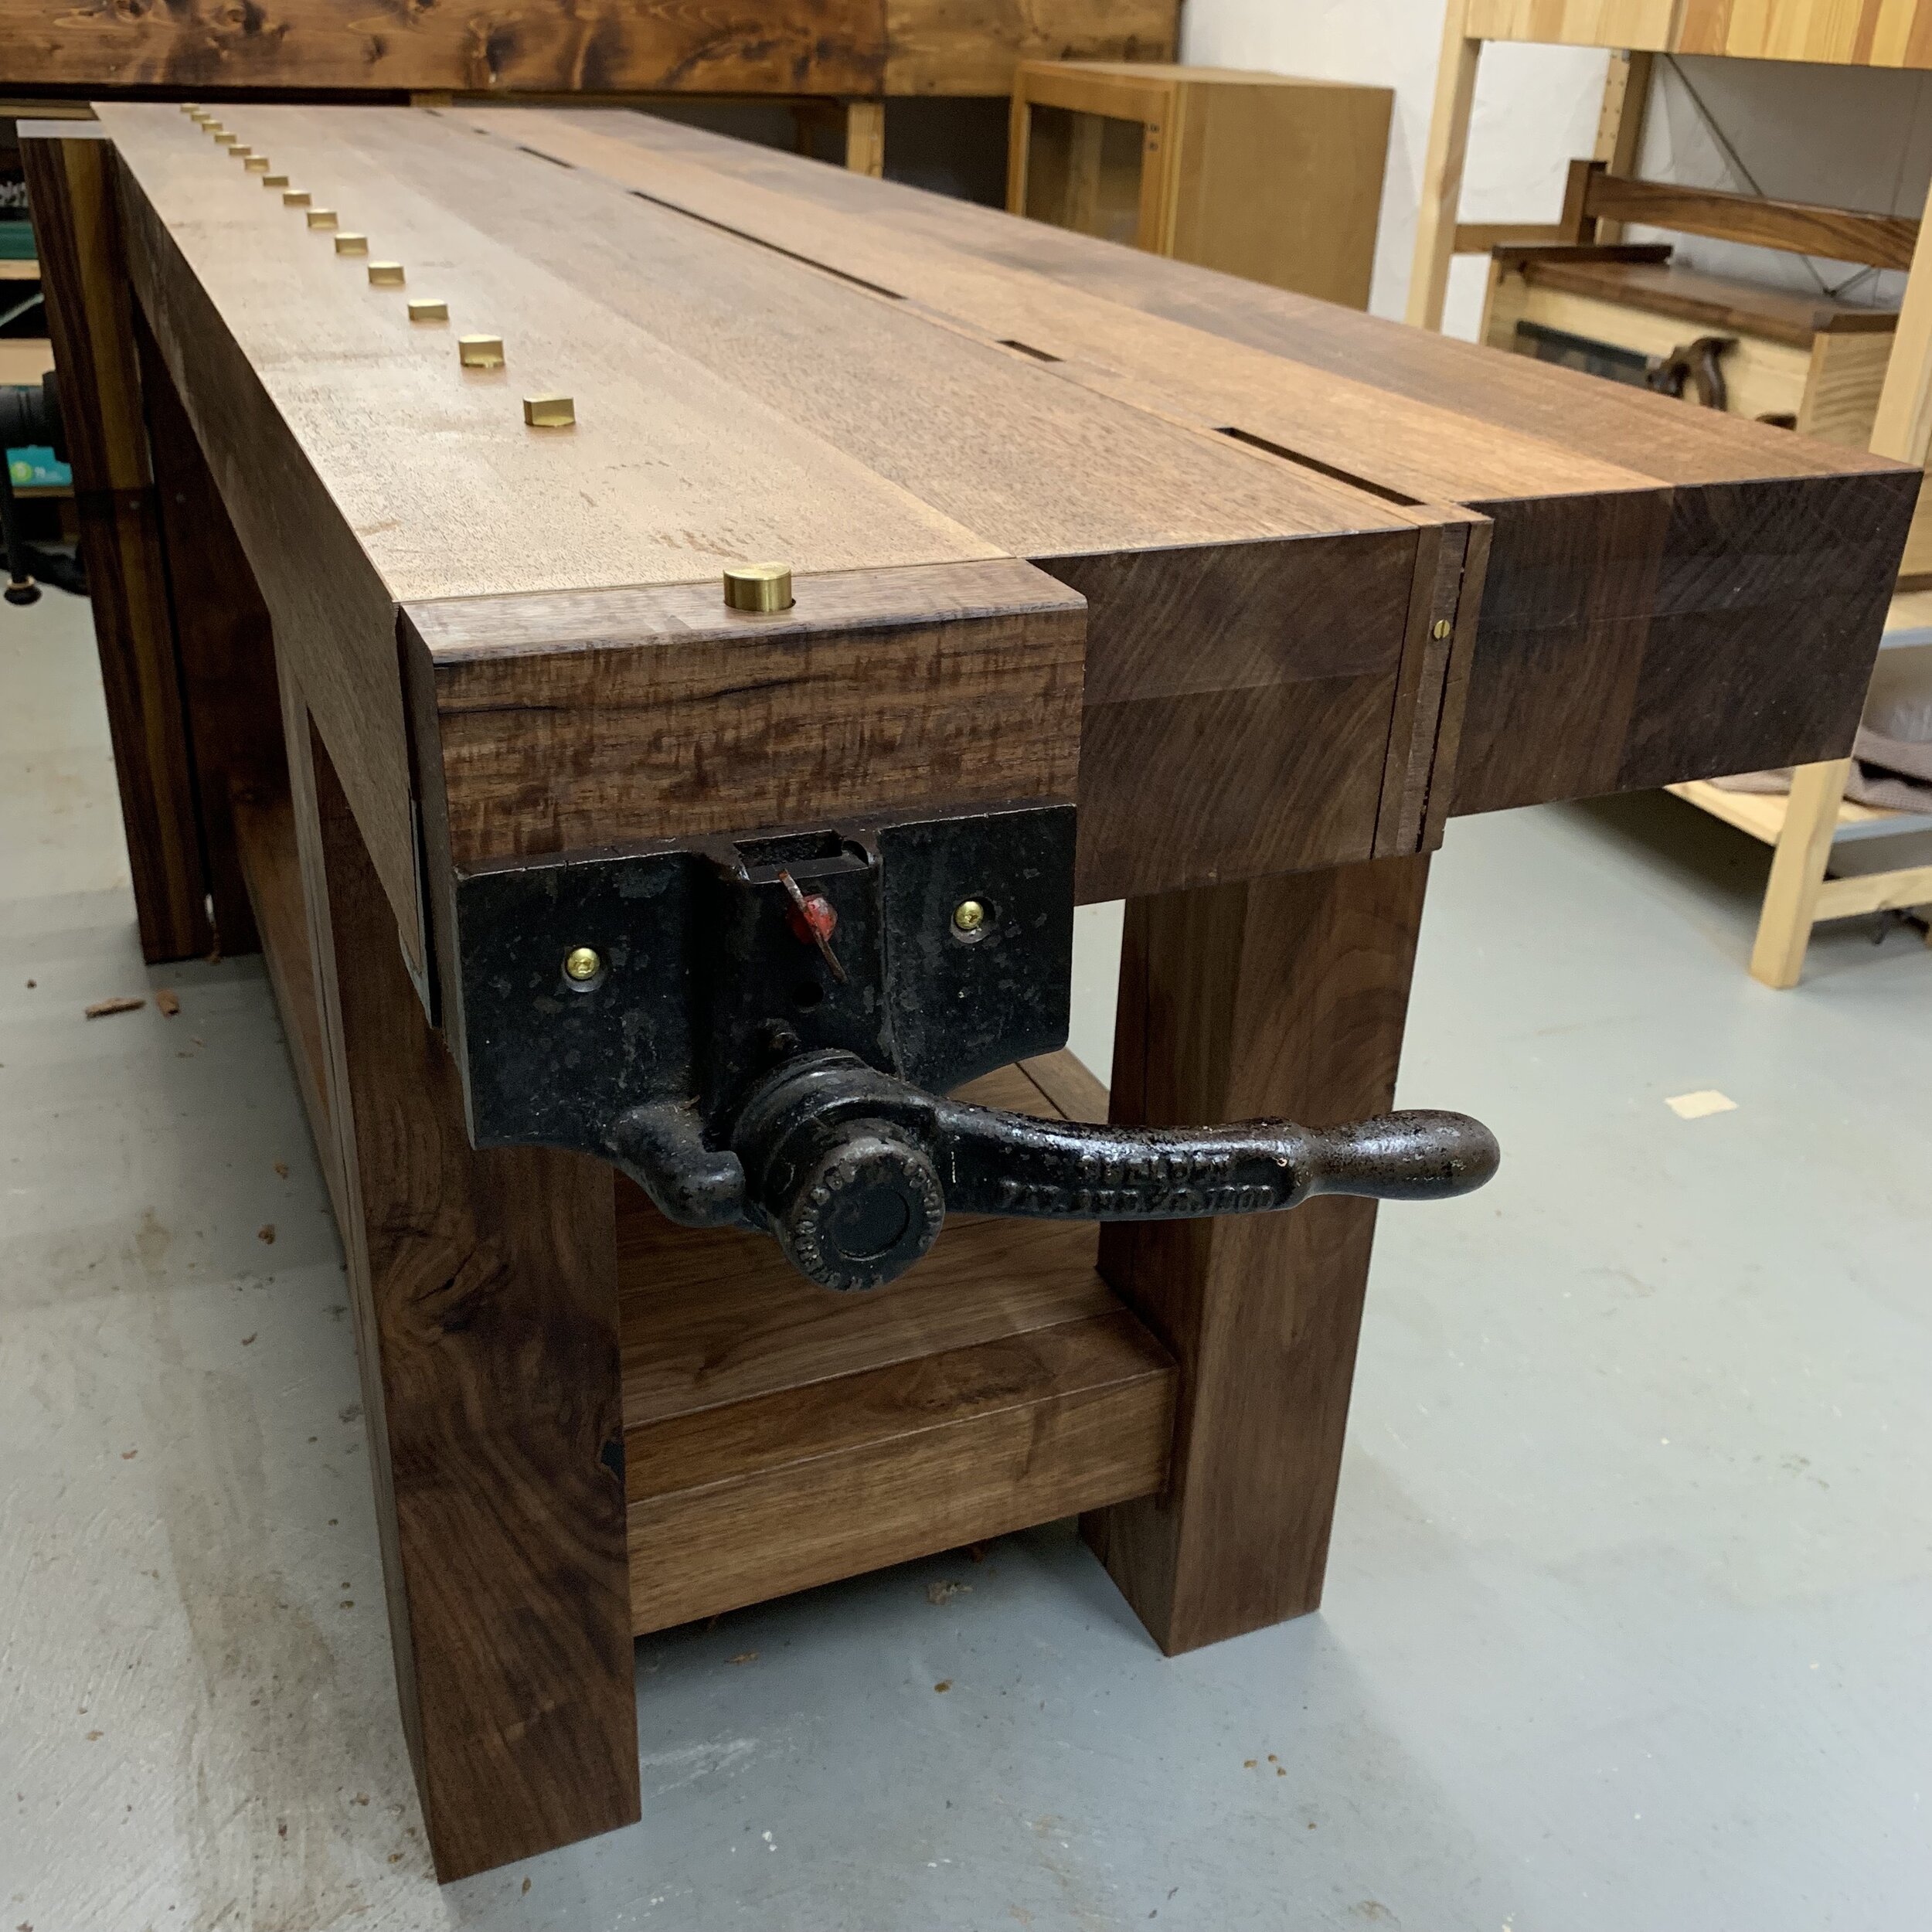
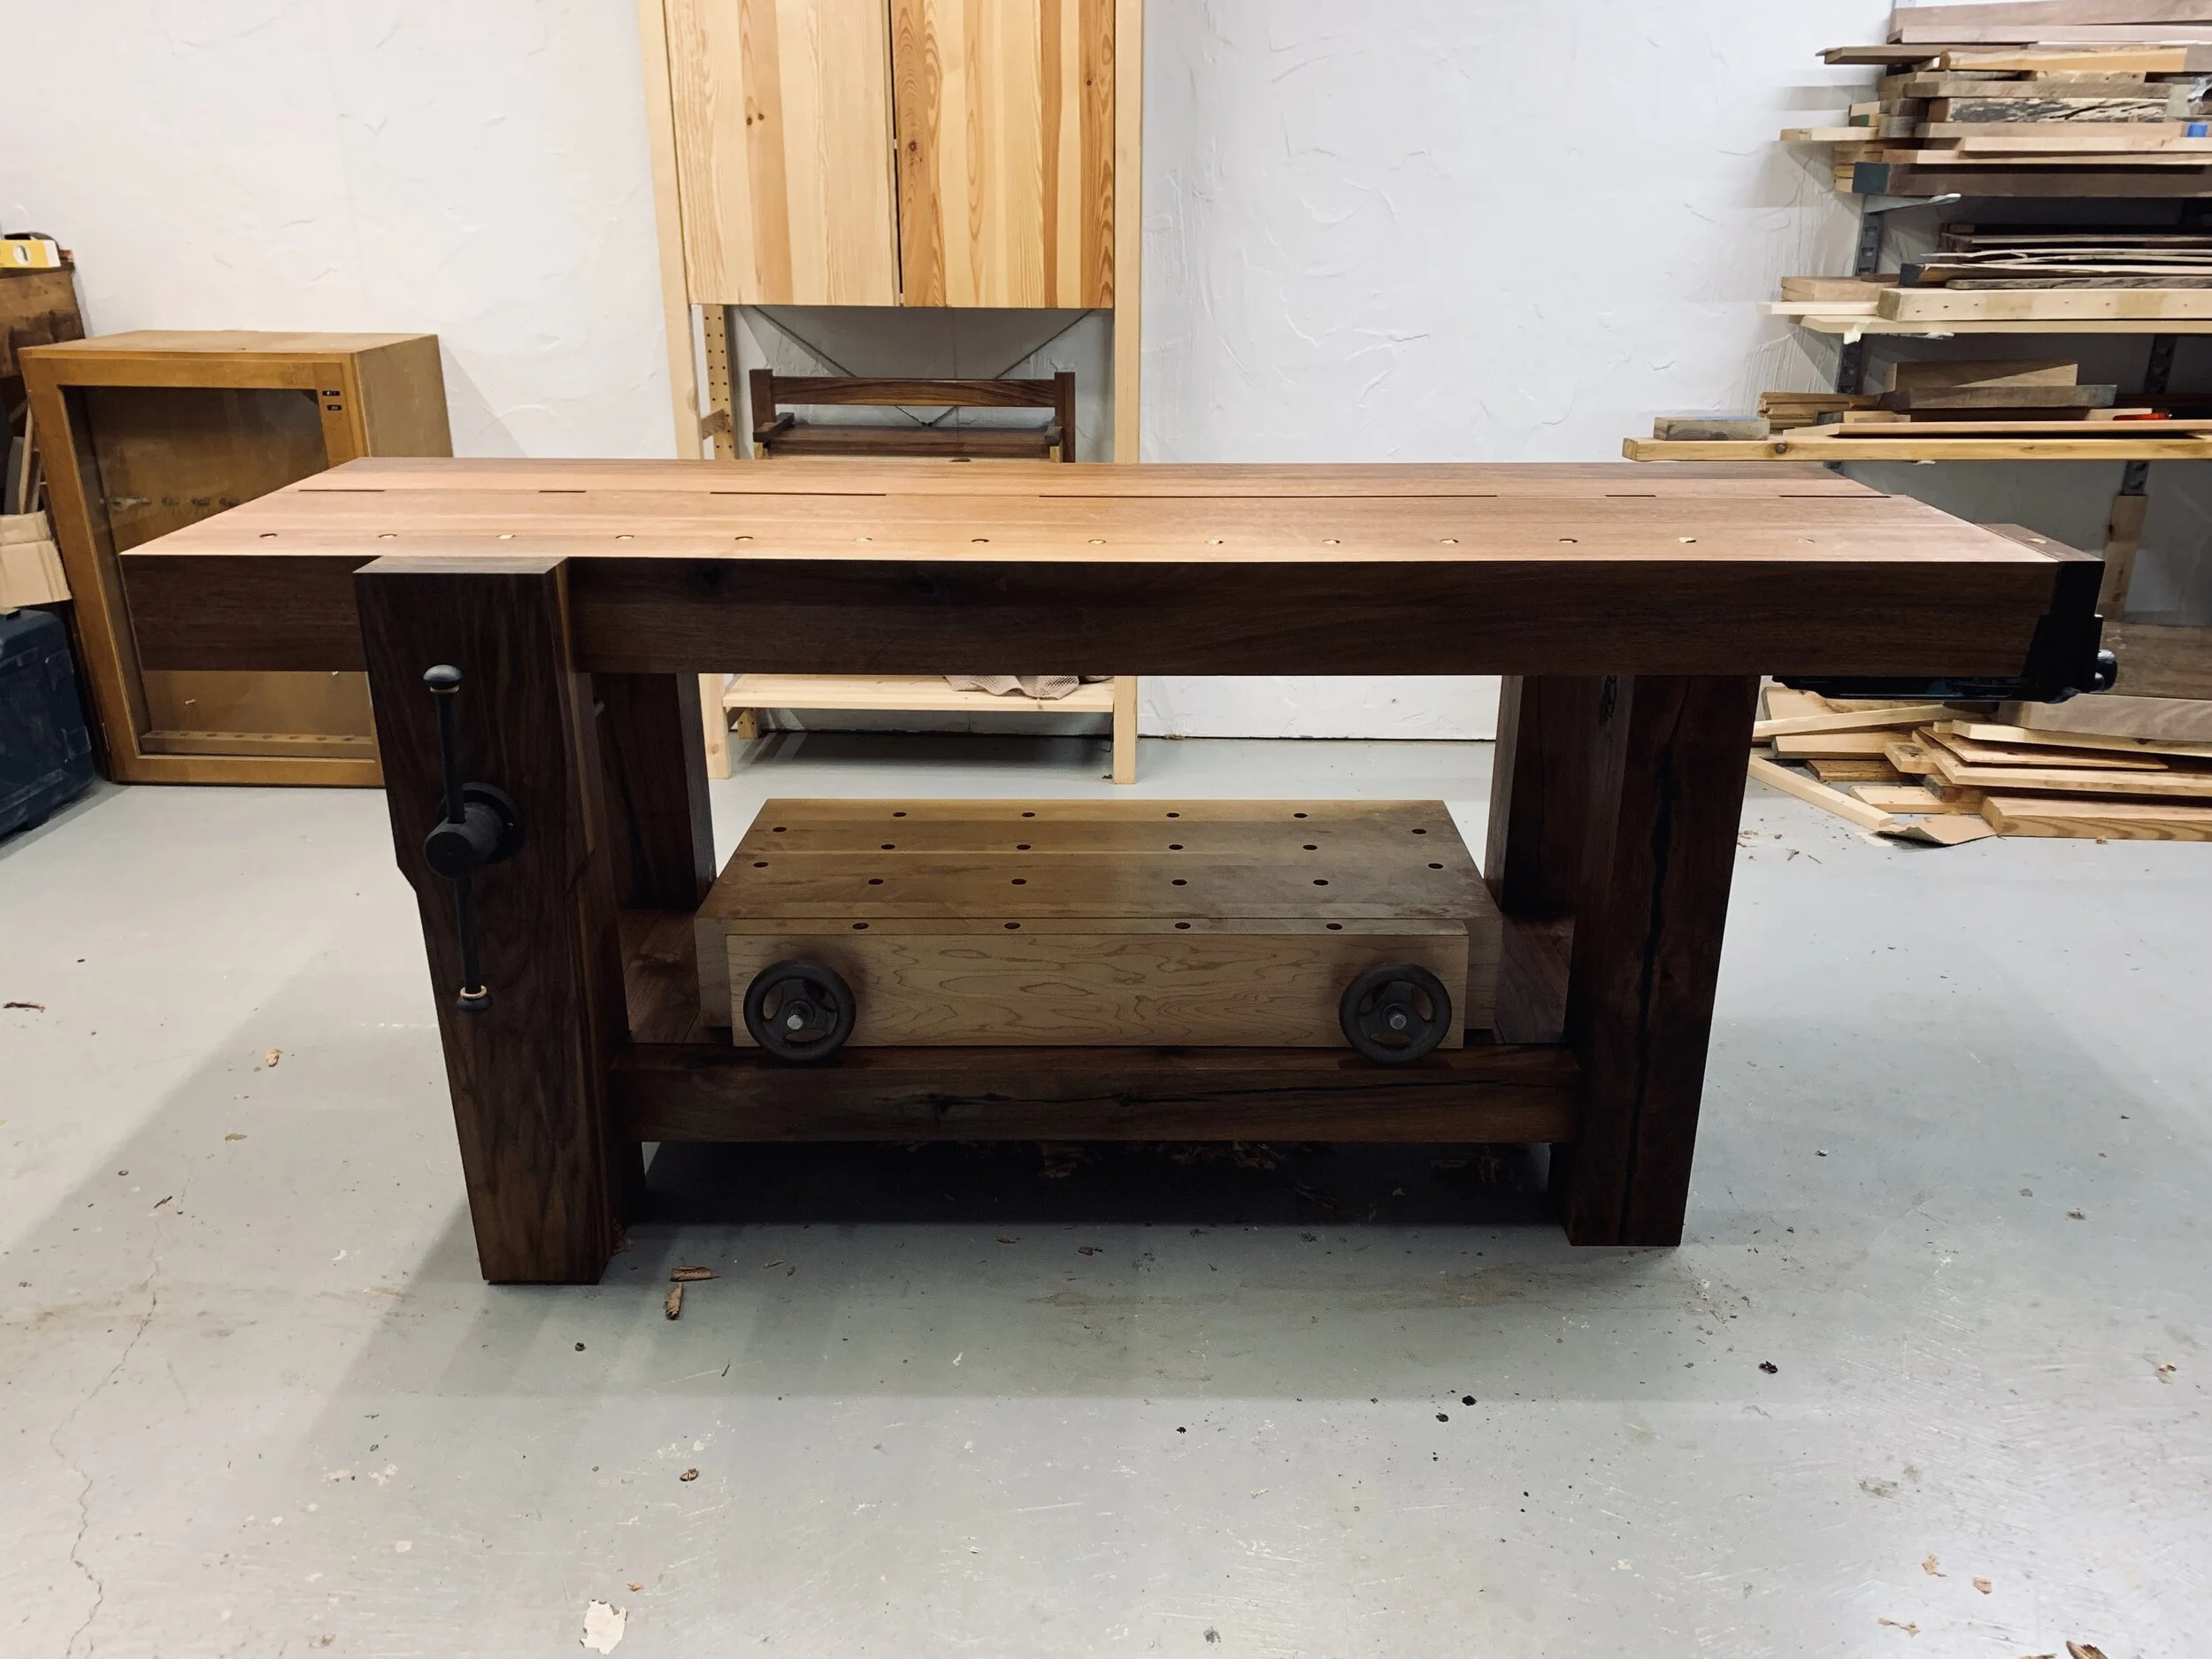
It’s been a challenging build but also a rewarding one. What i’ve liked most is that some elements have just fallen into place. The asymmetry in the top was dictated by the size of stock I had on hand. The two piece top was made of 4 beams, one was a good 7” wide and the rest were a little smaller. I used the 7” piece for the front as it was widest and it didn’t make sense to rip them all to a common width just to have the centre gap land right in the middle. I actually really like the fact that the work surface at the front totals 13” at the front and just over 8” at the rear. I also really like the fact that the 7” beam worked out to be exactly the same width as my sheldon vise. This really helped with the installation. The material for the legs had its fair share of structural defects, but all were addressed through epoxy reinforcement. It worked out to be kinda neat that I had enough material for 4 gnarled legs and 1 clear top. Without getting too mystical, in some ways i feel the bench build itself. Or at least dictated its final form. Anyways, on to the picture show.
Another roubo workbench enters the world, built with wakened hands & built for a lifetime or two.
Beams to Dreams
It’s time to get started. No more planning, no more thinking and hopefully no more tooling up. First order of business is to start cutting my beams down to size. Though it’s not as straightforward as it might appear. I’ve learned a few things about buying wood, some which I already knew but didn’t quite register with me. I guess i’m an experiential learner… 1st off, country folk are savvy and you should drive a hard bargain. I still can’t decide whether I got a good deal… On one hand, walnut beams are exceedingly rare and should cost a small fortune. On the other hand these beams have checks, pith, debris and the tree ate a small fence and a few lag bolts back in 1982. All in, I probably did very well, especially considering I wouldn’t have been able to buy the same amount of wood in ash or oak from the local hardwood supplier for any cheaper. Actually it would have been close to double. The trade off is that I had to dig metal out of a few beams, I’ll have take care to mill the pith out where ever possible and I’ll probably end up having more dutchmen than than the Netherlands.